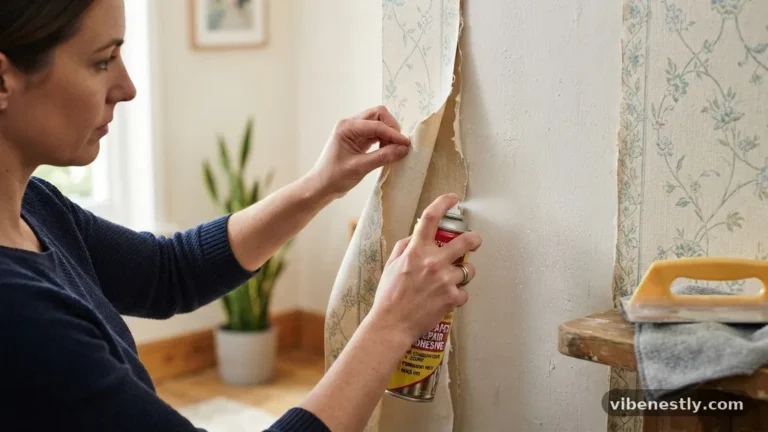
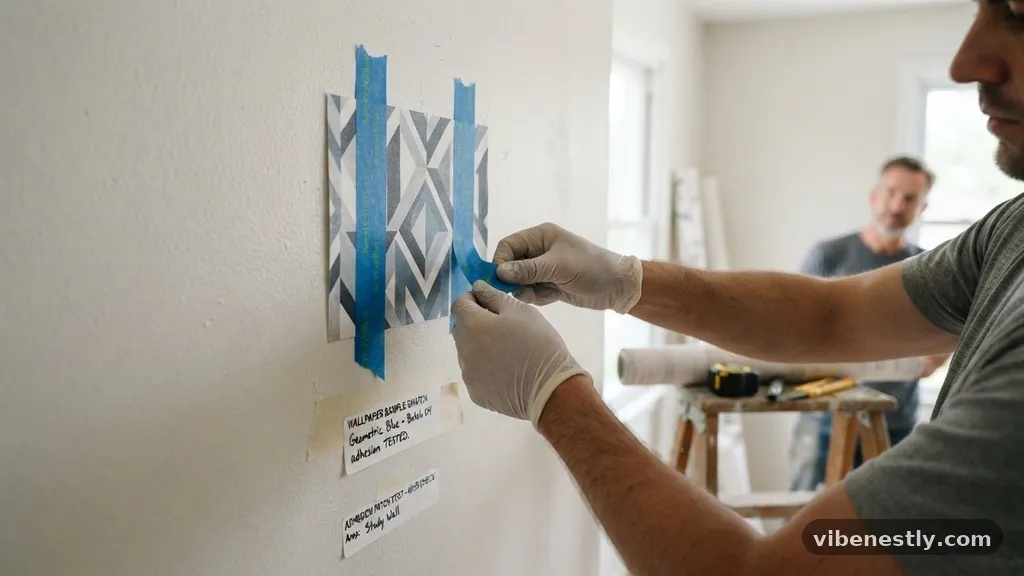
Testing Wallpaper Adhesion: The Sample Swatch Painter’s Tape Test
Testing wallpaper adhesion with a sample swatch and painter’s tape is the most reliable way to prevent catastrophic damage before you start a project. Many homeowners assume their wall covering can withstand standard masking materials, but the reality often involves hidden layers of paper or fragile inks that rip upon removal. By conducting a small, inconspicuous trial, you determine exactly how the substrate reacts to adhesive pressure and tension.
This process saves you from the heartbreak of peeling away decorative patterns along with your tape. You will gain confidence in your choice of supplies and ensure your walls remain pristine throughout any renovation or painting task.
The Core Purpose of the Patch Test
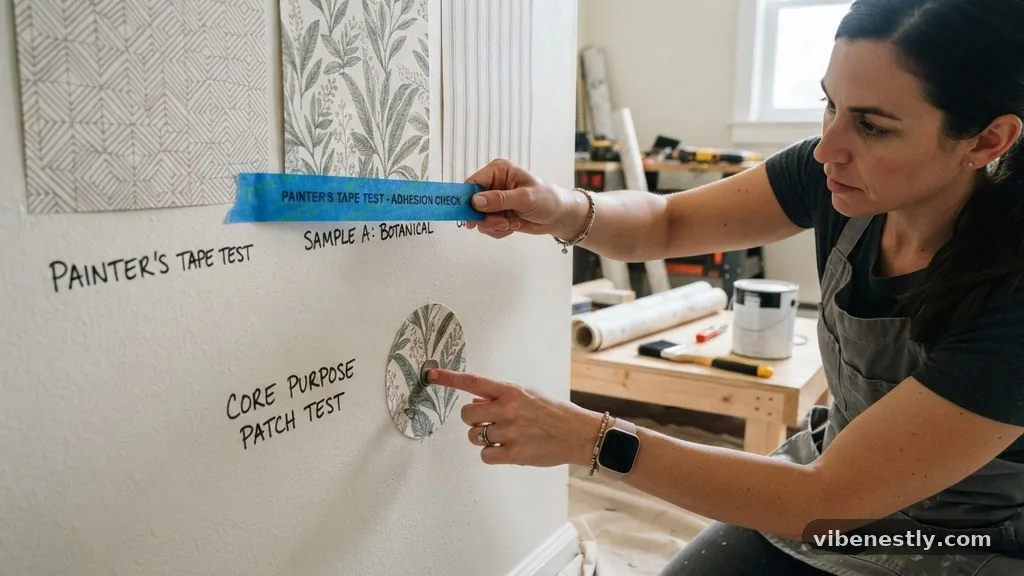
The primary goal of testing wallpaper adhesion is to observe how a specific surface interacts with the chemical composition of an adhesive. Not all wall coverings are created equal; some are coated with vinyl, while others remain porous and organic. When you apply a strip of tape to these surfaces, you are creating a mechanical bond that must eventually be broken.
A successful test confirms that the bond strength of the tape is lower than the structural integrity of the wallpaper’s top layer. If the bond is too strong, the tape acts as a scalpel, lifting sections of the design or the paper backing itself.
You should always perform this test in an area that will be hidden by furniture or decor, such as behind a door or near the floorboards. This ensures that if the test leaves a mark or causes minor surface distortion, the impact remains invisible. The process involves placing a small piece of painter’s tape on the wall, pressing it down firmly, and then removing it at a sharp angle.
If the wallpaper remains intact, you have established a baseline for safety. If the paper begins to lift or show signs of residue, you must immediately pivot to a different protection strategy.
Selecting the Right Tape for Delicate Surfaces
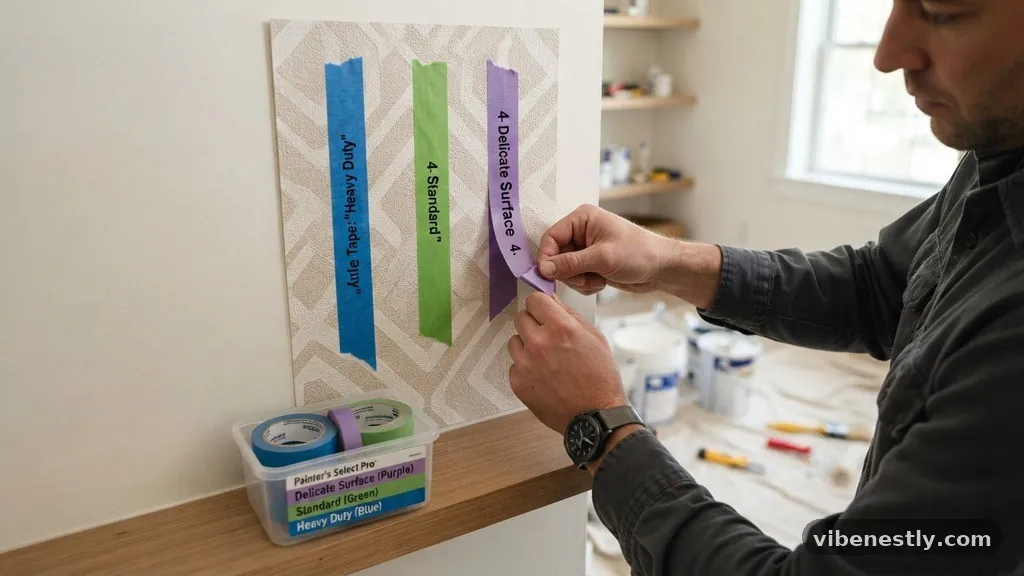
Not all painter’s tape is designed for the same level of tackiness. Standard blue or green tapes are often formulated for baseboards, trim, and glass, which are significantly more durable than decorative wall coverings. When you are working with wallpaper, you need products specifically labeled for delicate surfaces.
These tapes usually feature a lower adhesive profile, which allows them to hold firm against light tension while releasing easily without pulling at the substrate. Using the wrong product is the single most common cause of wall damage during interior projects.
When you go to the hardware store, look for labels that explicitly mention “delicate” or “safe release” for wallpaper or freshly painted surfaces. These products are often colored yellow or purple to distinguish them from heavy-duty masking alternatives. They provide enough grip to keep your drop cloths in place or to mask off an area for painting, but they won’t bond aggressively with the wallpaper’s texture.
Always verify the manufacturer’s recommendation on the packaging before applying it to a high-value wall covering. Testing these specific products against your wallpaper sample is the only way to confirm their performance.
Executing the Test Procedure
To perform an accurate evaluation, start by cleaning the surface of your wallpaper sample to remove any dust or oils. Even a small amount of debris can interfere with the adhesive, leading to a false sense of security during your test. Apply a three-inch piece of your chosen painter’s tape to the wall, pressing it down with moderate finger pressure.
Do not use excessive force, as you want to simulate normal usage rather than an extreme scenario. Leave the tape in place for at least one hour to allow the adhesive to set into the texture of the paper.
Once the waiting period is over, remove the tape at a 45-degree angle. Pulling straight out or at a 90-degree angle can increase the likelihood of tearing, so keeping the angle low is critical for success. Observe the tape carefully as you peel it back to see if any fibers or ink particles have transferred to the adhesive.
If the tape comes away clean, it is safe to proceed with your project. If you see any trace of the wallpaper on the adhesive, the tape is too aggressive for your specific surface.
Comparing Tape Adhesion Levels
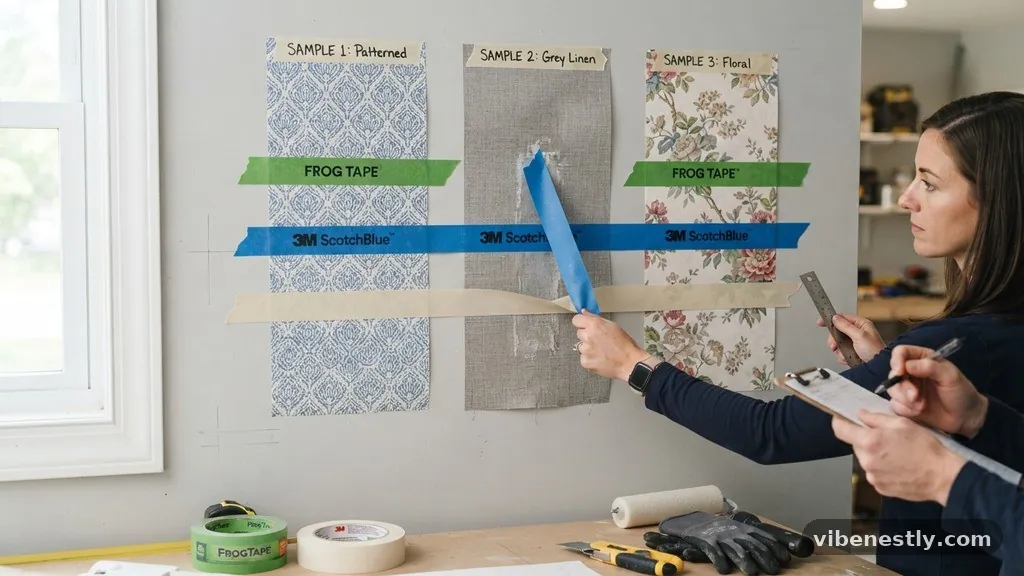
Understanding the variance between different types of masking supplies is essential for any professional or DIY enthusiast. Tapes are measured by their tack level, which dictates how tightly they bond to a surface.
High-tack tapes are excellent for rough surfaces like concrete or exterior wood, but they are disastrous for interior finishes. The following table illustrates the common categories of tape and their general suitability for various wall conditions.
| Tape Type | Adhesive Strength | Best Use Case | Wallpaper Safety |
|---|---|---|---|
| Heavy-Duty Masking | High | Concrete, Metal | Extremely Low |
| Standard Blue Tape | Medium | Trim, Baseboards | Caution Advised |
| Delicate Surface Tape | Low | Wallpaper, Faux Finishes | High |
This data serves as a guide for selecting your tools, but remember that individual wallpaper brands vary significantly. Some high-end luxury papers are treated with specialized sealants that make them more resilient, while others are essentially raw, absorbent fibers.
Always default to the lowest tack level if you are unsure about the durability of your specific wall treatment. It is better to have to re-apply tape that didn’t stick well than to repair a hole in your decorative finish.
Factors That Influence Adhesion
Several environmental and material factors will change how tape reacts to your walls. Humidity is a major player, as it can soften the paper backing of the wallpaper, making it significantly more prone to tearing. If you are working in a damp environment, such as a bathroom or a basement, the adhesive on your tape might bond more aggressively to the moisture-laden surface.
Always check the climate in the room before you begin your testing process. High temperatures can also affect the adhesive, causing it to become gummy or more difficult to remove cleanly.
The age of the wallpaper also plays a massive role in its structural integrity. Over time, the adhesives used to install the wallpaper can degrade, and the paper itself can become brittle. If you are working in a historic home or with older installations, the risk of damage increases tenfold.
In these cases, even the most delicate tape might cause problems. You should be extremely cautious and perform multiple tests in different, hidden areas to get a true sense of the wall’s condition.
Recognizing Signs of Potential Failure
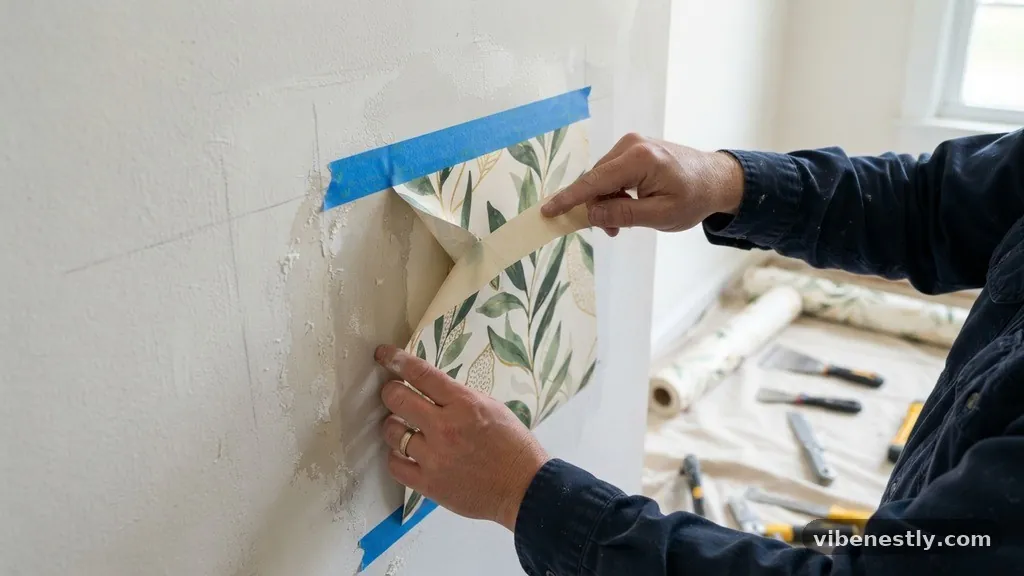
When you are testing your tape, keep an eye out for subtle warning signs that suggest the surface is not suitable for masking. If you hear a slight “cracking” or “popping” sound as you pull the tape away, stop immediately. This sound indicates that the adhesive is pulling against the surface tension of the paper and is on the verge of causing a rip.
You might also notice that the tape feels “stuck” or requires more effort to pull than it did when you first applied it. These are clear indicators that the chemistry of the adhesive is incompatible with your wallpaper.
Another sign of failure is the presence of color transfer on the tape. If you see pigments or patterns from the wallpaper on the back of the tape, you are effectively stripping the finish off the wall. Even if the paper doesn’t tear, this color loss can leave a visible blemish that is impossible to fix without replacing the entire section.
If you notice any of these signs, you must abandon the use of tape in that area. Instead, consider using physical barriers like plastic sheeting held in place by friction or alternative masking methods.
Alternatives to Traditional Tape
If your wallpaper fails the adhesion test, do not despair. There are several ways to protect your walls without relying on tape that might damage the surface. One effective method is using weighted drop cloths that rely on gravity rather than adhesives to stay in place.
You can also use painter’s plastic that is tucked into the seam between the wallpaper and the baseboard, securing it with a thin, non-adhesive trim or a flexible putty that doesn’t bond permanently. These methods require more setup time but offer a much higher margin of safety.
Another professional trick is to use a “bridge” method, where you attach your masking tape to a non-sensitive surface nearby, such as a wood trim or a floor, and then drape the plastic over the wallpaper. By ensuring the tape never touches the paper itself, you eliminate the risk entirely.
This approach is common in high-end restoration work where the original finishes are irreplaceable. It requires a steady hand and a bit of patience, but it preserves the integrity of the wallpaper while allowing you to complete your painting or renovation work.
The Role of Surface Preparation
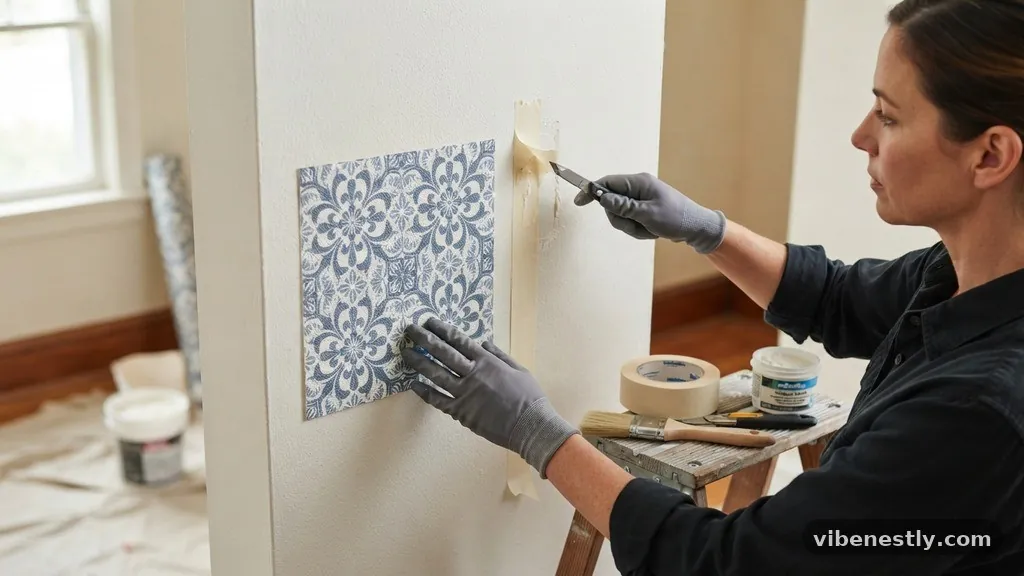
Before you even think about applying tape, you must ensure the wall is as clean as possible. Dust, grease, and even skin oils can create “hot spots” where the tape bonds unevenly. Use a dry, soft microfiber cloth to wipe down the area you intend to mask.
If the wallpaper is washable, a very lightly dampened cloth might work, but you must let it dry completely before proceeding. A clean surface allows the tape to adhere consistently, which actually makes it easier to remove without causing localized damage.
If you are dealing with textured or embossed wallpaper, the challenge increases. The adhesive has to bridge the gaps between the raised patterns, which can lead to uneven tension. In these cases, you might need to use a very soft brush to ensure the tape is pressed only onto the raised portions, avoiding the delicate recessed areas.
Taking the time to prepare the surface properly is the best way to ensure that your testing phase provides accurate results. You can find more information on surface care and maintenance through professional resources like the Wallcovering Installers Association.
When to Call a Professional
Sometimes, the stakes are simply too high to risk a DIY approach. If you have expensive, hand-painted, or silk-based wallpaper, the cost of a mistake is substantial. In these instances, calling in a professional installer or a skilled painter is the most logical step.
Professionals have access to specialized masking products and techniques that are not available to the general public. They also have the experience to recognize the signs of a failing substrate before a problem occurs.
A professional will perform their own assessment of your wallpaper’s condition. They will look for signs of peeling at the seams, evidence of previous repairs, and the overall quality of the installation. If they determine that the wallpaper cannot be safely masked, they will offer alternative strategies.
While this might add to the cost of your project, it is significantly cheaper than the cost of removing and replacing damaged wallpaper. Never feel pressured to proceed with a project if you are not 100% confident in the safety of your materials.
Common Questions About Wallpaper Adhesion
Will painter’s tape stick to all types of wallpaper?
No, painter’s tape will not stick safely to all wallpaper. Highly porous, paper-based, or aged wallpapers are particularly susceptible to damage. You must always test the specific tape on your specific wallpaper before committing to a full project.
What does poor paint adhesion look like on wallpaper?
Poor adhesion often manifests as bubbling, peeling, or “lifting” of the wallpaper seams. If the paint or tape is too aggressive, you might see the top layer of the wallpaper tearing away from the backing during the removal process.
Can I use FrogTape on wallpaper?
FrogTape is excellent for many surfaces, but it is still an adhesive product. Some versions are designed for delicate surfaces, but you should always perform a patch test first. Do not assume any brand is safe without testing it on a hidden area of your specific wall.
What should I do if the tape pulls off the wallpaper?
If the tape pulls off the wallpaper, stop immediately. You must switch to a non-adhesive masking method, such as using weighted drop cloths or securing plastic sheeting to the floor and trim rather than the wall itself.
How long can I leave painter’s tape on wallpaper?
You should never leave painter’s tape on wallpaper for an extended period. The adhesive can continue to set over time, making it much harder to remove cleanly. Remove the tape as soon as your work is finished, and ideally within 24 hours of application.
Final Thoughts on Surface Safety
Testing wallpaper adhesion is a simple but vital step that separates a successful home project from a costly repair job. By dedicating a few minutes to a patch test, you protect your investment and ensure your walls remain in excellent condition. Always remember to use the right tools for the job, prioritize delicate-surface products, and work with care when removing any masking materials.
If you see signs of trouble during your test, pivot to a safer, non-adhesive method immediately. With these precautions in place, you can move forward with your interior updates, confident that your walls will look just as good as they did before you started. Reach out to local professionals if you encounter any uncertainty, and enjoy the process of transforming your space with peace of mind.