Will Peel-and-Stick Wallpaper Stick to Orange Peel Textured Walls?
Deciding whether or not you can successfully apply adhesive wall coverings to your home’s interior is a common dilemma. Many homeowners wonder if they will peel-and-stick wallpaper stick to orange peel textured walls, or if the uneven surface will cause the project to fail prematurely. While the short answer is that the texture significantly compromises the bond, many DIY enthusiasts still attempt it with varying degrees of success.
Understanding how the adhesive interacts with those tiny, raised bumps is vital before you commit to a full room renovation. This article provides the technical reality behind using modern wall coverings on non-smooth surfaces and what you should expect from the results.
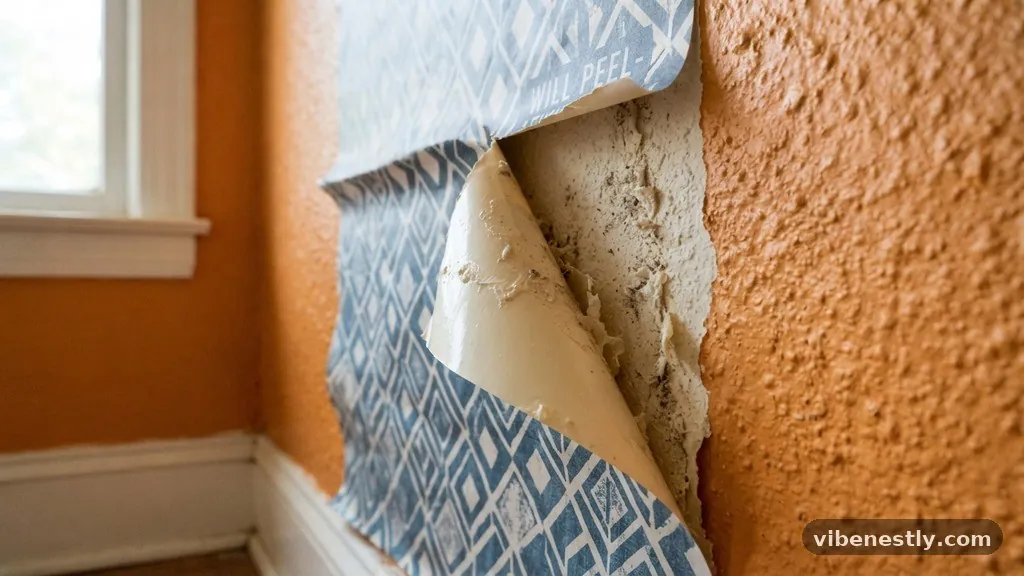
The direct answer to whether you can apply peel-and-stick products to orange peel texture is that while it is technically possible, it is rarely recommended for long-term satisfaction. The adhesive on these products is designed for flat, non-porous surfaces like primed drywall or smooth paint. Because orange peel texture creates thousands of tiny peaks and valleys, the wallpaper can only make contact with the highest points of the wall.
This leaves a vast amount of surface area without a proper seal, inevitably leading to air bubbles and eventual peeling. If you choose to proceed, you should expect to use extra adhesive or perform significant surface preparation.
The Mechanics of Adhesive Failure on Texture
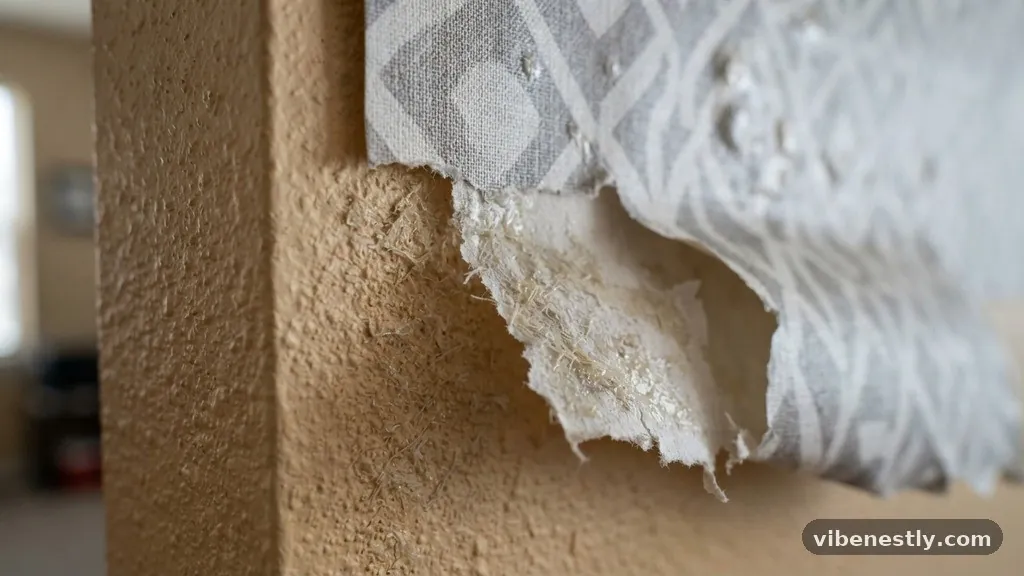
Adhesive products rely on surface area contact to maintain a strong grip. When you apply a flat sheet of vinyl to a smooth wall, nearly 100% of the back of the paper touches the surface.
On an orange peel wall, the contact area might drop to as low as 30% or 40%. The adhesive is essentially trying to bridge the gaps between the bumps rather than bonding to them.
Over time, gravity exerts a constant downward force on the wallpaper. Without a full surface bond, the material begins to sag or pull away at the seams.
You might see the wallpaper hold for a few weeks, but the lack of total adhesion usually results in the paper curling at the edges. This is particularly common in rooms with high humidity, such as bathrooms or kitchens.
The thickness of the wallpaper also plays a massive role in how well it handles uneven surfaces. Thinner materials tend to conform slightly better to the texture, but they also show every single bump through the surface. Heavier, more durable vinyl materials resist the texture better but are much more prone to falling off because they are too stiff to bond effectively to the irregular peaks.
Preparing the Surface for Better Results
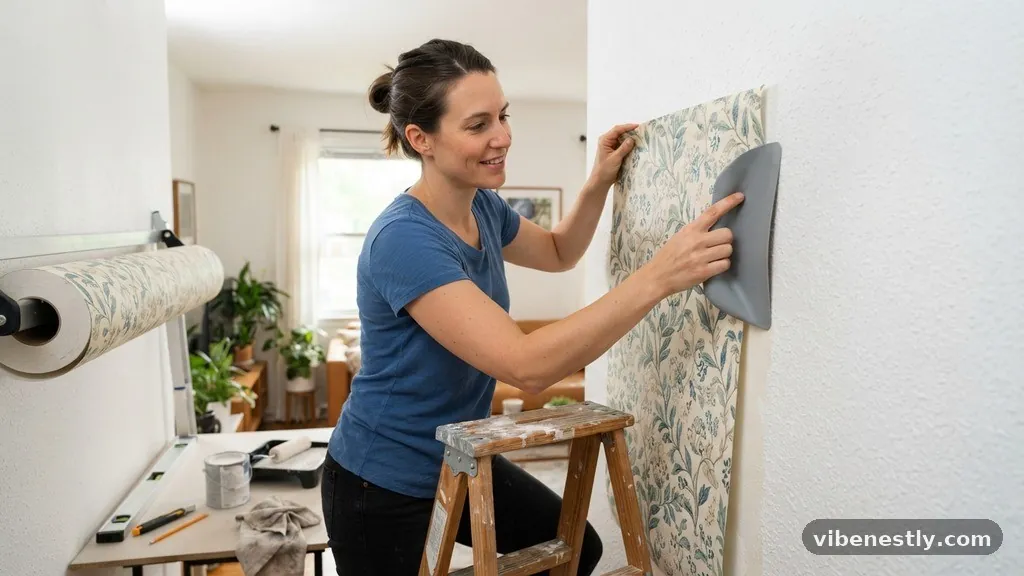
If you are determined to move forward, you must address the texture before applying your chosen design. The most effective way to ensure a professional finish is to skim coat the wall with joint compound.
This process involves applying a thin layer of drywall mud over the entire surface to fill in the valleys of the texture. Once dried and sanded, the wall becomes completely smooth and ready for the adhesive.
For those who want to avoid the mess of sanding, a heavy-duty wall primer can sometimes help. You should look for a high-tack primer specifically designed to improve the bond between the drywall and the adhesive backing.
While this won’t eliminate the texture, it creates a more consistent surface for the paper to grip. Keep in mind that this is still inferior to a properly smoothed wall.
You might also consider applying a liner paper before installing your decorative wallpaper. Liner paper is a thick, blank material that acts as a buffer between the wall and the decorative layer.
It can help smooth out minor imperfections and provide a more stable foundation. However, this adds a significant amount of labor and cost to your project.
Why the Wall Test is Essential
Before purchasing enough rolls to cover an entire room, you must perform a wall test. Order a single sample of the wallpaper you intend to use and apply it to a discreet area of your wall.
Leave the sample up for at least five months to see how it performs under seasonal temperature changes. You might find that the paper stays up during the summer but begins to fail when the air becomes drier in the winter.
Observe the edges of the sample closely during this period. If you notice the corners lifting or the material pulling away from the texture, it is a clear sign that the product will not hold long-term.
You should also press on the sample periodically to see if you can feel the texture pushing through the material. If you can see the orange peel pattern through the pattern of the wallpaper, the visual result may be disappointing.
Tracking the performance of your test piece allows you to make an informed decision without wasting money on hundreds of square feet of material. It is far better to learn that your walls are too textured for a specific brand during a small test than after a full installation. Many manufacturers provide data on the types of wall surfaces their products are compatible with, so check their official guidelines before starting.
Comparing Installation Methods
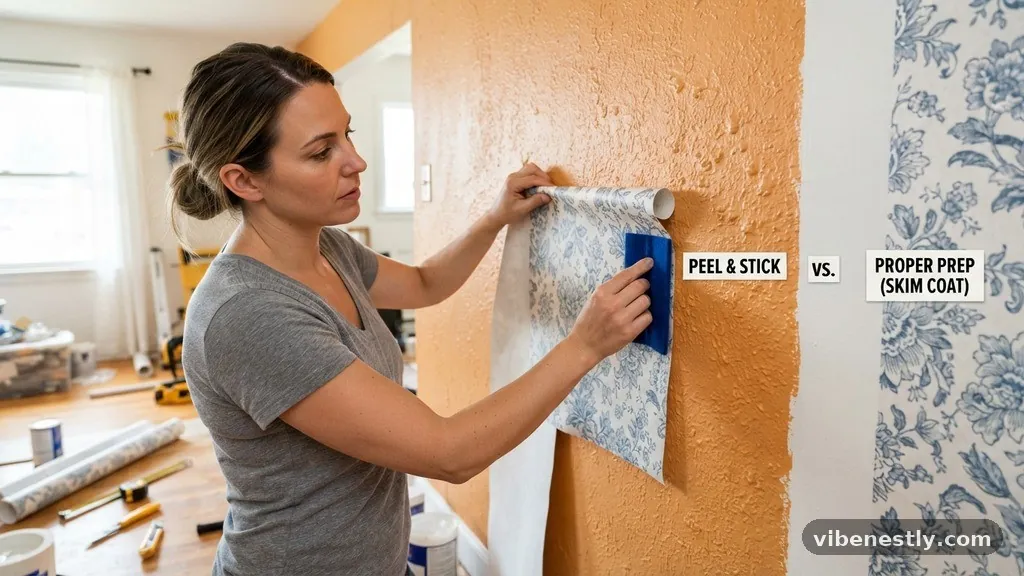
The choice between traditional wallpaper and peel-and-stick products often comes down to the nature of the adhesive. Traditional, paste-based wallpapers are much better at handling texture because the wet paste fills the gaps. Once it dries, it creates a rigid, permanent bond that is much harder to break than the pressure-sensitive adhesive on a sticker.
The table below outlines the primary differences you should consider when deciding which method to use on your textured surface.
| Feature | Peel-and-Stick | Traditional Paste |
|---|---|---|
| Adhesion strength | Low on texture | High on texture |
| Difficulty of install | Easy/Moderate | Difficult/Expert |
| Removal process | Simple | Labor intensive |
| Texture tolerance | Poor | Good |
As the data suggests, there is a clear trade-off between the ease of installation and the reliability of the bond. If you prioritize a temporary change, peel-and-stick might be acceptable if you are willing to risk some peeling. If you want a permanent, high-quality look, traditional wallpaper is almost always the superior choice for textured surfaces.
The Role of Temperature and Humidity
Environmental factors are often overlooked when discussing whether wallpaper will stay on a wall. Adhesive performance is highly dependent on ambient temperature and moisture levels.
In a climate-controlled environment, the adhesive stays stable and maintains its intended properties. When the temperature fluctuates, the wallpaper can expand and contract, putting stress on the bond.
Orange peel texture makes this expansion and contraction cycle much more dangerous for your installation. Because the adhesive only touches the peaks of the bumps, the material has very little room to move.
As the wall expands, the wallpaper is pulled tight, causing it to snap away from the surface. This is why many DIY projects fail within the first few months.
If you live in a region with high seasonal humidity, the moisture can also weaken the adhesive backing. Many peel-and-stick brands use water-based adhesives that can soften when exposed to prolonged humidity.
Once the adhesive softens, the weight of the wallpaper causes it to slide down the wall. This is a common point of failure for those living in older homes without modern climate control.
Selecting the Best Brands
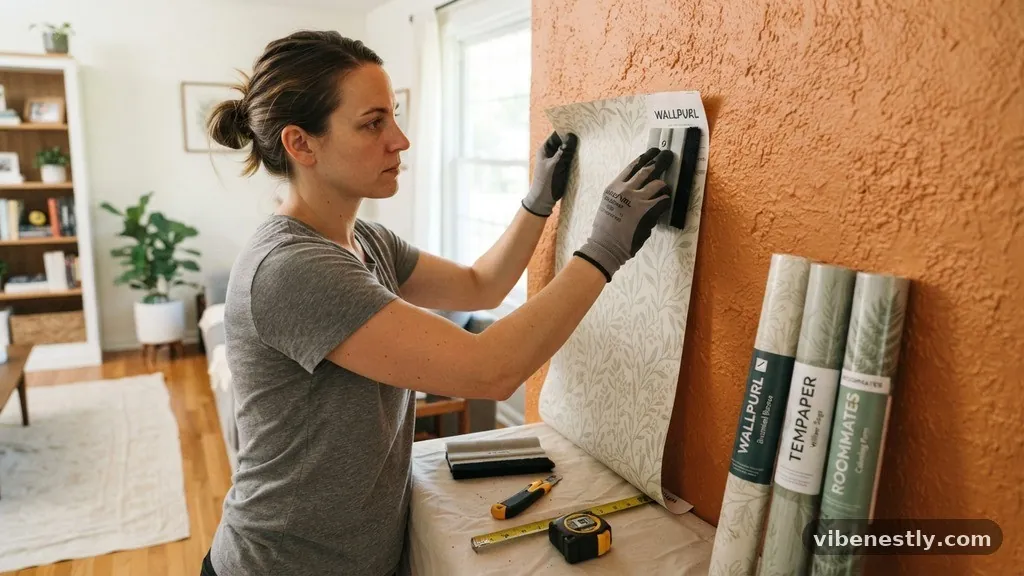
Not all peel-and-stick products are created equal. Some brands use a much stronger, more aggressive adhesive that is specifically formulated to handle slightly uneven surfaces.
While these aren’t miracle workers, they perform better than the cheap, mass-market options found in big-box stores. Researching professional-grade interior design brands can lead you to products that offer better performance.
Look for companies that explicitly mention their products work on “lightly textured” surfaces. Even with these brands, you should remain skeptical of their claims when it comes to heavy orange peel.
If a manufacturer does not provide a guarantee for textured walls, assume that the risk of failure rests entirely on you. Reading independent reviews from users who have tried the product on similar walls is often more informative than marketing copy.
Some enthusiasts have found success by applying a thin layer of spray adhesive to the back of the wallpaper before sticking it to the wall. This is a messy process and essentially turns your removable product into a permanent one. If you go this route, be prepared for the fact that you will likely damage your drywall when it comes time to remove the wallpaper later.
Common Mistakes to Avoid
The most frequent mistake is failing to clean the wall properly before installation. Even on smooth walls, dust and oils prevent the adhesive from sticking.
On textured walls, the crevices trap dust, making it even harder to achieve a clean bond. Always wipe your walls down with a mixture of water and mild soap, then allow them to dry completely before starting.
Another common error is applying the wallpaper when the wall is cold. If you are working in a garage or an unheated room, the adhesive will not activate properly.
Use a hair dryer or a heat gun on a low setting to warm up the wall surface before applying the paper. This helps the adhesive become more pliable and allows it to settle into the texture better.
Finally, do not stretch the wallpaper as you apply it. It is tempting to pull the paper tight to remove bubbles, but this creates tension in the material.
Once the adhesive loses its grip at the edges, that tension will cause the paper to peel back even faster. Let the wallpaper hang naturally and use a soft smoothing tool to press it into place gently.
Signs of Imminent Failure
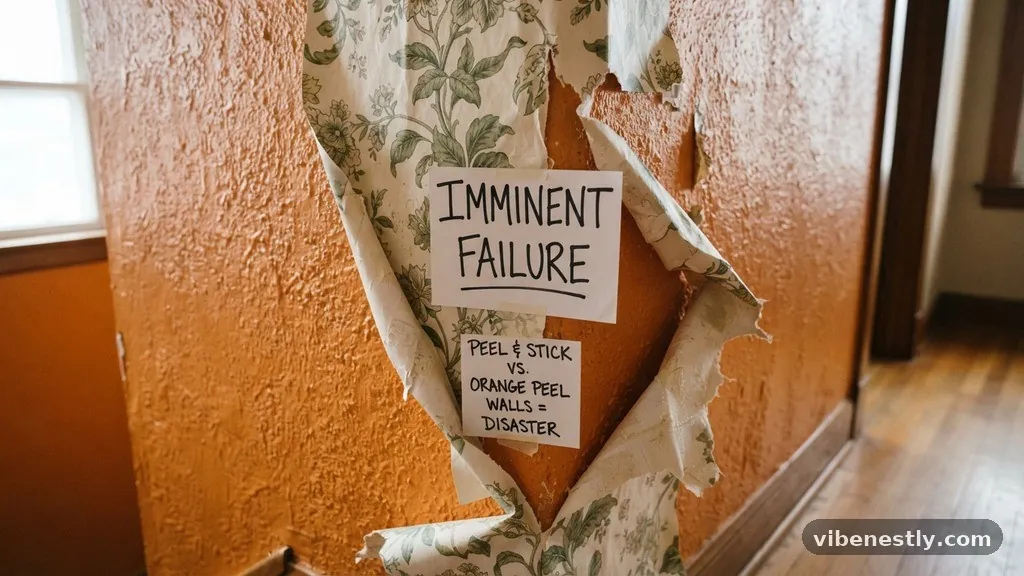
You can often predict a failure before it actually happens by watching for a few key indicators. The most obvious sign is the appearance of air bubbles that won’t go away.
If you press them down and they pop back up within a few hours, the adhesive is not making a solid connection. This indicates that the wallpaper is bridging the texture rather than sticking to it.
Another sign is the edges starting to lift, even if only by a millimeter. Once the seal is broken at the edge, air and dust can get behind the paper.
This creates a chain reaction that will cause the wallpaper to peel progressively. If you see this happening, you should address it immediately with an adhesive touch-up pen or a small amount of wallpaper paste.
If you notice the color of the wall showing through the seams, it means the paper is shifting. This happens when the adhesive is not strong enough to hold the weight of the material against the texture.
While it might look fine from a distance, it is a sign that the installation is slowly failing. At this point, you have to decide if you want to perform regular maintenance or remove the product entirely.
Alternative Solutions for Textured Walls
If you find that peel-and-stick wallpaper simply won’t work for your needs, there are other ways to transform your space. Painting is the most obvious alternative, and it is far more forgiving on textured walls. A high-quality matte or flat paint can actually make the orange peel texture look like a deliberate design choice rather than an imperfection.
Fabric wall hangings are another excellent option that adds warmth and interest without the need for adhesive. You can mount decorative tapestries or fabric panels using small nails or tension rods.
This gives you the ability to change your decor whenever you want without worrying about damaging your walls. It also provides a soft, sophisticated look that wallpaper often struggles to achieve.
For a more permanent change, you could consider installing wainscoting or wall panels. These can be attached directly over the textured wall, creating a smooth, flat surface that can be painted or stained. While this is a more expensive and time-consuming project, the end result is a high-end finish that is much more durable than any wallpaper product.
Frequently Asked Questions
Is it possible to use a hair dryer to help the wallpaper stick?
Yes, using a hair dryer on a low setting can help soften the adhesive and make the wallpaper more pliable. This allows it to conform better to the peaks of the orange peel texture. Be careful not to overheat the material, as this can cause it to stretch or lose its shape.
Will the wallpaper damage my walls when I remove it?
It depends on the quality of your paint and the strength of the adhesive. If the paint is old or poorly applied, the adhesive will likely pull it off when you remove the wallpaper. On textured walls, the adhesive can also get trapped in the crevices, making removal more difficult and potentially causing more damage.
Can I use spray adhesive to make it stick better?
You can, but it is not recommended if you want to keep the “removable” feature of the wallpaper. Adding spray adhesive creates a permanent bond that will almost certainly damage your wall surface upon removal. It also makes the installation process significantly more difficult and messy.
How long should I expect the wallpaper to stay up?
If applied correctly, it could last for several years, but it is highly dependent on the severity of the texture and the environment. Many DIYers find that the wallpaper begins to show signs of failure within six to twelve months. Regular maintenance and a proper surface prep can extend this lifespan significantly.
What if I choose a thicker wallpaper material?
Thicker wallpaper is generally more durable, but it is also stiffer. This stiffness makes it harder for the material to conform to the tiny bumps of orange peel texture. As a result, the adhesive has a harder time making contact, which often leads to the wallpaper falling off sooner than a thinner, more flexible product.
Final Thoughts
Attempting to apply peel-and-stick wallpaper to an orange peel textured wall is a challenging project that rarely yields perfect, long-term results. While the ease of use makes these products attractive, the physical reality of the surface texture acts as a barrier to a successful bond.
You may see the paper stay up for a few months, but the lack of total surface contact usually results in lifting, bubbling, and eventual failure. If you decide to proceed, prioritize proper surface preparation, such as skimming the wall or using a high-tack primer, to give yourself the best possible chance of success.
If you are not prepared for the labor of smoothing your walls, consider alternatives like decorative paint or fabric wall hangings. These options provide a much more stable and attractive finish that won’t require constant maintenance or re-application.
When you decide to move forward, always start with a small wall test to see how the product behaves in your specific home environment. Whether you choose to tackle the texture or opt for a different design path, we would love to hear about your home improvement experiences in the comments below.