How to Prevent Wallpaper Seams from Peeling Near Steamy Shower Doors
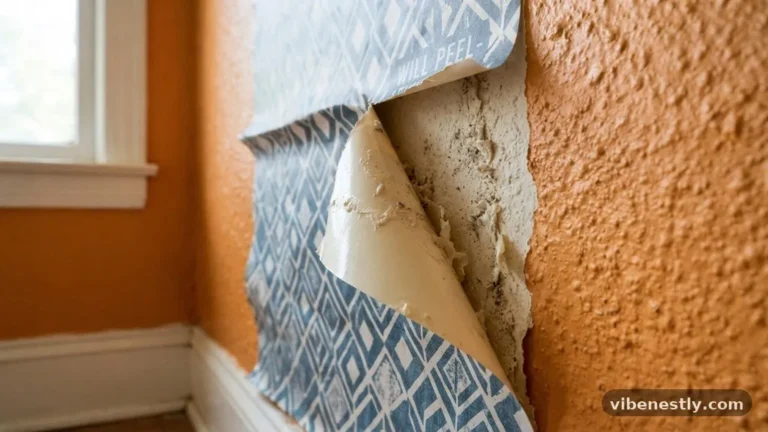
Preventing Wallpaper Seams from Peeling Near Steamy Shower Doors is a common challenge for homeowners who want a stylish bathroom without sacrificing durability. Humidity and heat from daily showers quickly compromise standard adhesives, leading to unsightly curling at the edges. By choosing the right materials and applying professional-grade techniques, you can ensure your decor remains firmly attached even in high-moisture environments.
This article explores the specific steps required to protect your wall coverings from the damaging effects of steam and direct water exposure. You will learn how to select moisture-resistant products and apply specialized sealants to keep your bathroom looking pristine for years to come.
Immediate Fixes for Peeling Seams
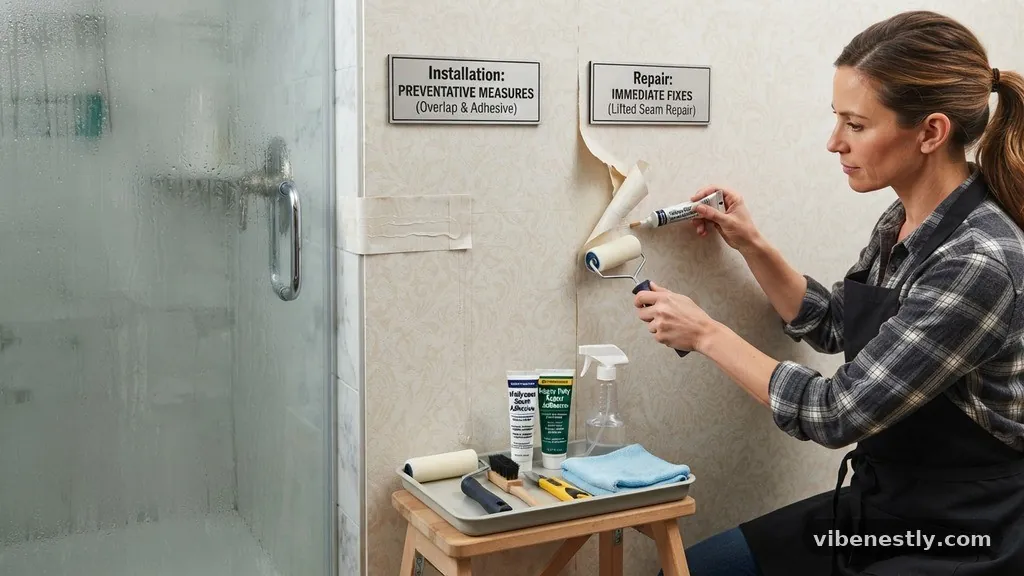
When you notice a seam starting to lift, the most effective way to address it is by using a dedicated wallpaper seam adhesive. Do not attempt to use standard craft glue or wood glue, as these are not designed to handle the expansion and contraction cycles found in a bathroom. These specialized adhesives remain slightly flexible once dry, which is critical when the wall behind the paper experiences temperature fluctuations from the shower.
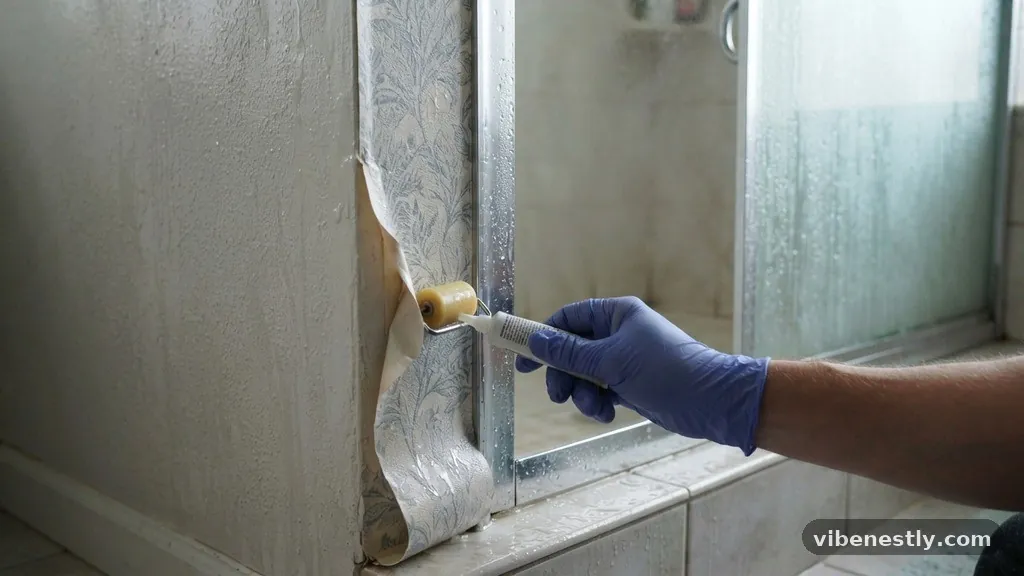
To perform the repair, gently lift the loose edge of the paper and use a small artist’s brush to apply a thin layer of adhesive to the wall surface. Press the paper back into place firmly, starting from the center of the sheet and working your way toward the edge to push out any trapped air bubbles. Wipe away any excess glue immediately with a damp, lint-free cloth to prevent staining, especially if you are working with dark-colored paper.
If the edge refuses to stay down, you may need to use a small seam roller to apply consistent pressure. This tool helps bond the adhesive to the substrate more effectively than your fingers can.
Allow the area to dry completely for at least 24 hours before using the shower again, as steam will prevent the adhesive from setting properly. Keeping the room well-ventilated during this curing phase is essential for long-term success.
Selecting Moisture-Resistant Materials
The foundation of preventing Wallpaper Seams from Peeling Near Steamy Shower Doors starts long before you pick up a roller. Standard cellulose-based wallpapers absorb moisture, which causes the paper to swell and the seams to pull apart.
Instead, opt for heavy-duty vinyl or fiberglass-reinforced wall coverings that are specifically rated for bathroom use. These materials are non-porous and act as a barrier against steam.
When shopping, look for labels that explicitly state “washable” or “scrubbable.” These ratings indicate that the surface can withstand humidity without degrading or losing its bond to the wall.
Peel and stick wallpaper is increasingly popular, but ensure the brand you choose is specifically formulated for high-humidity environments. Many basic peel and stick products rely on acrylic adhesives that soften when exposed to prolonged heat.
Check the technical specifications of the product to see if it lists a “moisture-resistant” or “waterproof” designation. If you are unsure, consider using a professional-grade vinyl wallcovering, which is often used in commercial hospitality settings. These materials are engineered to resist mold and mildew while maintaining a tight seal at every joint, even in rooms with poor ventilation.
The Critical Role of Surface Preparation
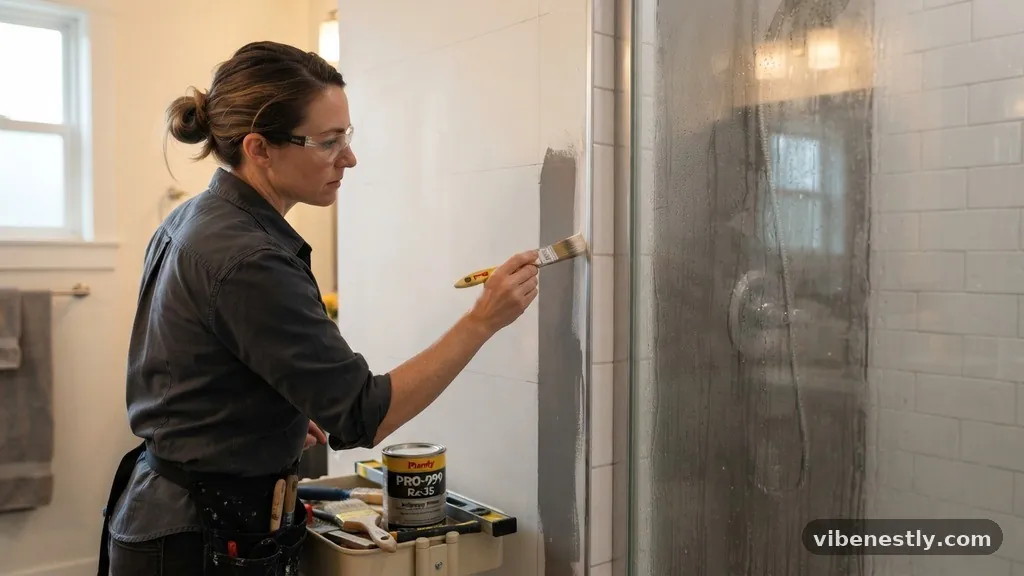
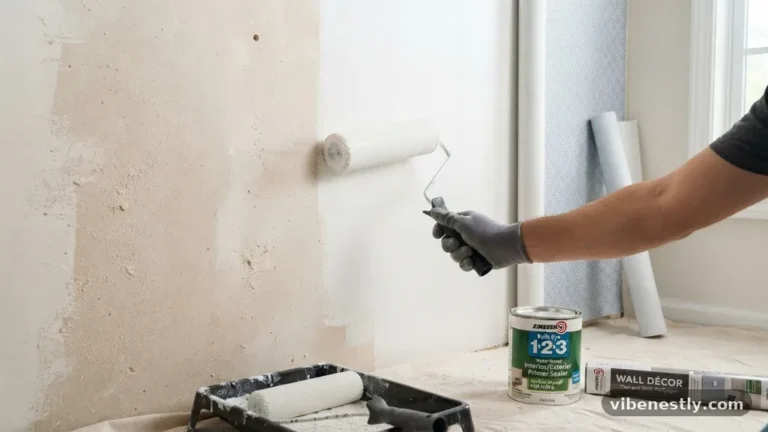
Installing wallpaper over a dirty or porous surface is the most common mistake that leads to failure. Before you even open your box of paper, you must prime the wall with a high-quality, moisture-resistant primer.
This creates a uniform surface that allows the adhesive to grip evenly across the entire wall. Without a primer, the drywall or plaster will soak up the adhesive’s moisture too quickly, resulting in a weak bond.
Start by cleaning the walls thoroughly with a degreaser to remove any soap scum, hairspray residue, or dust. Even if the walls look clean, invisible film can prevent the wallpaper from sticking properly.
After cleaning, sand the surface lightly to create a “tooth” for the primer to adhere to. This simple step ensures that the base layer is secure and ready for the wallpaper installation.
Once the walls are clean and dry, apply a coat of oil-based or specialized mold-inhibiting primer. Oil-based primers are superior in bathrooms because they provide an impenetrable seal that prevents moisture from getting behind the paper.
Let the primer dry for the full duration recommended by the manufacturer. If you skip this step, the steam will eventually migrate through the drywall, causing the adhesive to lose its grip and leading to those frustrating peeling edges.
Understanding Adhesive Compatibility
Not all glues are created equal, and using the wrong type is a recipe for disaster in a steamy environment. For traditional wallpaper, use a heavy-duty, mildew-resistant vinyl-to-vinyl adhesive.
This type of paste is designed to bond to non-porous surfaces, ensuring that the heavy vinyl paper stays locked to the wall. It also contains additives that prevent the growth of fungus, which can thrive in the damp conditions near a shower door.
If you are using pre-pasted paper, you should still consider adding an extra layer of adhesive to the edges, especially near the shower area. This “seam-sealing” technique provides a secondary layer of protection where the paper is most vulnerable to steam. Apply a very thin bead of adhesive along the edge of each strip before hanging it, ensuring it doesn’t squeeze out and ruin the finish.
For those using peel and stick options, check if the manufacturer recommends a specific primer or a supplemental adhesive. Some installers use a light misting of spray adhesive on the wall to boost the factory-provided backing.
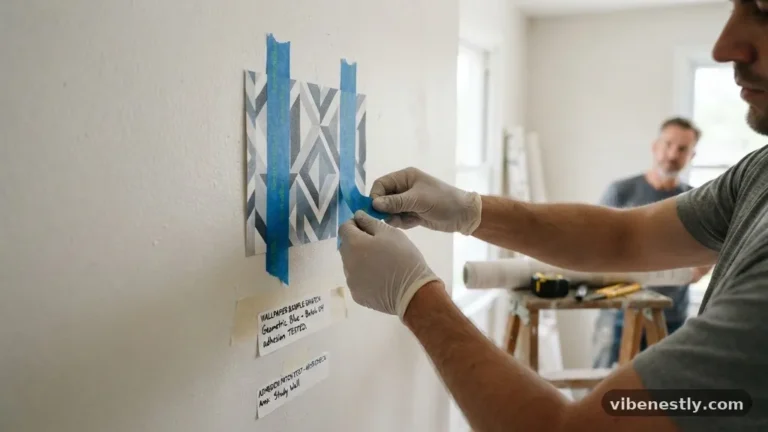
However, be careful with this, as some spray adhesives can react poorly with the factory backing and cause it to wrinkle or bubble. Always test a small, inconspicuous area first if you plan to use an additional bonding agent.
Managing Bathroom Humidity Levels
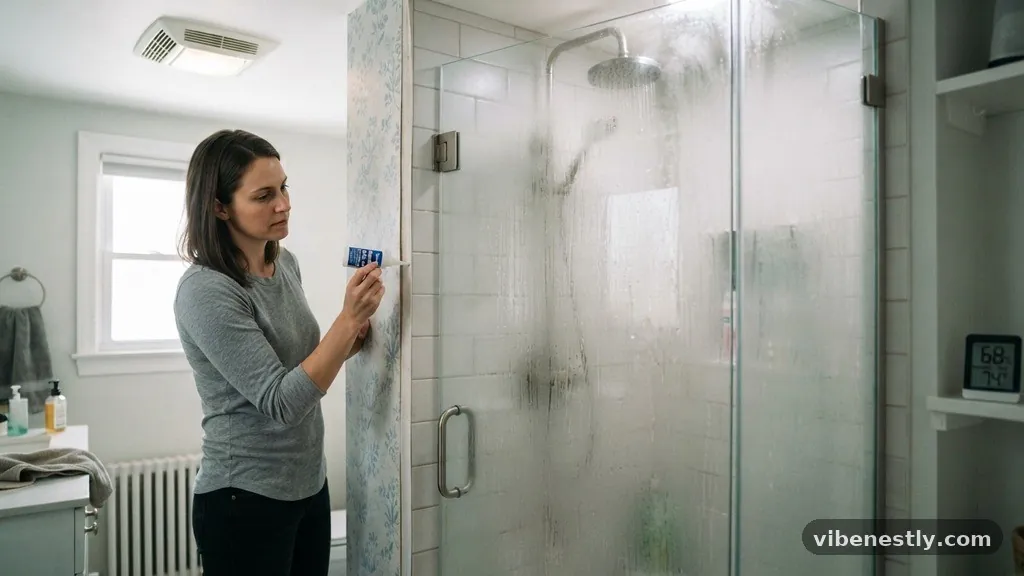
Even the best installation will struggle if the bathroom remains a sauna for hours after every shower. Reducing the amount of steam in the air is the most effective way to protect your walls. Ensure your exhaust fan is properly sized for the square footage of the room and that it is vented directly to the outside, not into the attic.
Run the fan for at least 15 to 20 minutes after you finish showering to clear out residual moisture. If you don’t have a window or a powerful fan, consider installing a dehumidifier to keep the air dry.
Lowering the humidity levels will significantly extend the life of your wallpaper seams. You can also make simple changes to your habits, such as keeping the shower door closed while the room vents.
Taking a shorter or cooler shower can also reduce the amount of steam generated. While this may not be the most appealing change for everyone, it is a practical way to protect your home’s finishes.
If you notice condensation forming on the walls or mirror, your humidity levels are too high. This is the exact condition that triggers peeling, so treat condensation as a sign that you need more ventilation.
Effective Seam Sealing Techniques
To provide an extra layer of protection, you can apply a clear seam sealant over the joints after the wallpaper is fully cured. This product is usually a clear, water-resistant liquid that creates a protective barrier over the edge of the paper.
It prevents moisture from wicking into the seam and attacking the adhesive from the inside. This is a common practice in professional installations to ensure long-term durability.
Apply the sealant sparingly using the applicator tip provided with the product. You want to create a thin, transparent line that covers the seam without leaving a glossy or raised ridge.
If you apply too much, it will be visible under certain lighting conditions. Practice on a scrap piece of paper first to get a feel for the flow of the liquid and the speed at which you need to move to get an even bead.
Ensure the room is completely dry before applying the sealant. If there is any trapped moisture under the paper, the sealant will lock it in, potentially causing bubbles or mold growth.
Once applied, the sealant will dry to a matte or semi-gloss finish, depending on the product, and will be virtually invisible. It acts as a shield that forces water droplets to bead up and roll off the paper rather than soaking into the edge.
Comparing Installation Methods
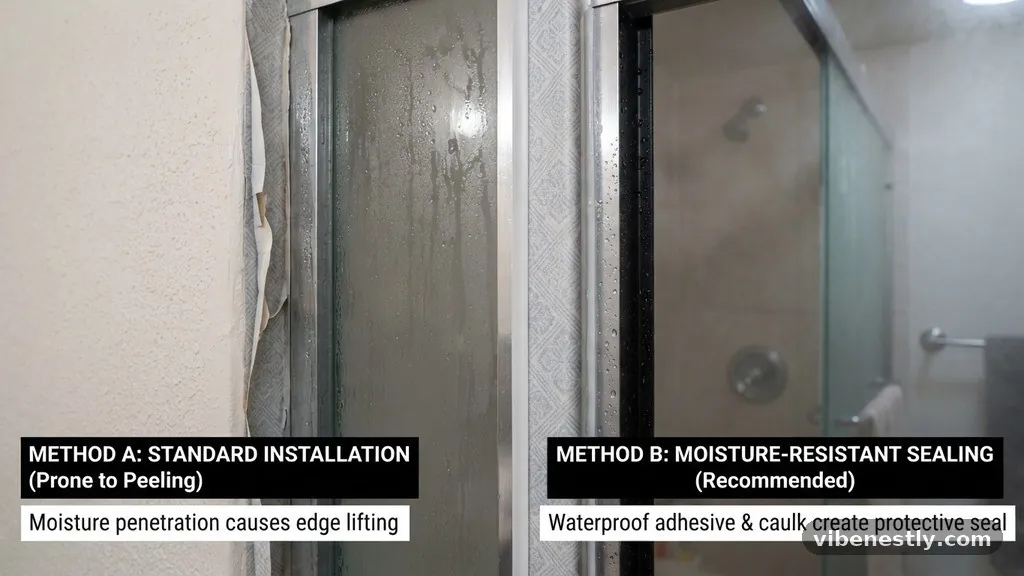
Choosing between traditional paste-up wallpaper and modern peel-and-stick versions involves different risks and rewards. The table below outlines how these methods compare when exposed to the harsh environment of a bathroom with a shower.
| Feature | Traditional Vinyl Paper | Peel and Stick |
|---|---|---|
| Moisture Resistance | High (with proper paste) | Varies (requires high-tack) |
| Adhesive Durability | Very High | Moderate |
| Installation Difficulty | Higher | Lower |
| Ease of Repair | Moderate | Easy |
Traditional vinyl paper, when applied with a professional-grade mildew-resistant paste, provides the most robust defense against steam. The paste bonds deeply with the wall, making it much harder for edges to curl.
Peel and stick options are much easier to install but can be more prone to peeling if the wall surface isn’t perfectly prepared or if the adhesive is not rated for high humidity. If you choose peel and stick, look for “high-tack” versions specifically marketed for bathrooms.
Mistakes to Avoid During Installation
A major error that leads to peeling is failing to overlap or butt the seams correctly. If you are using a pattern, you might be tempted to leave a tiny gap to make alignment easier, but this is a mistake.
Gaps act as entry points for moisture, which will inevitably lead to lifting. Always ensure the edges are perfectly joined or slightly overlapped, depending on the manufacturer’s recommendation for that specific material.
Another common oversight is not allowing the wallpaper to “book” or relax before hanging it, if the instructions call for it. If you hang the paper while it is still expanding, it will shrink as it dries, creating tension at the seams.
This tension pulls the edges away from the wall, creating a gap that steam can easily exploit. Follow the manufacturer’s instructions regarding soaking or resting times to the letter.
Avoid hanging wallpaper directly over glossy surfaces like oil-based paint without sanding first. The wallpaper adhesive needs a slightly textured surface to grip, and glossy paint is too smooth.
If you don’t sand or use a dedicated bonding primer, the paper will eventually slide or peel away, especially in the humid environment of a bathroom. Take the time to prepare the substrate properly, and you will avoid the heartache of a failing installation.
Strategic Placement of Wallpaper
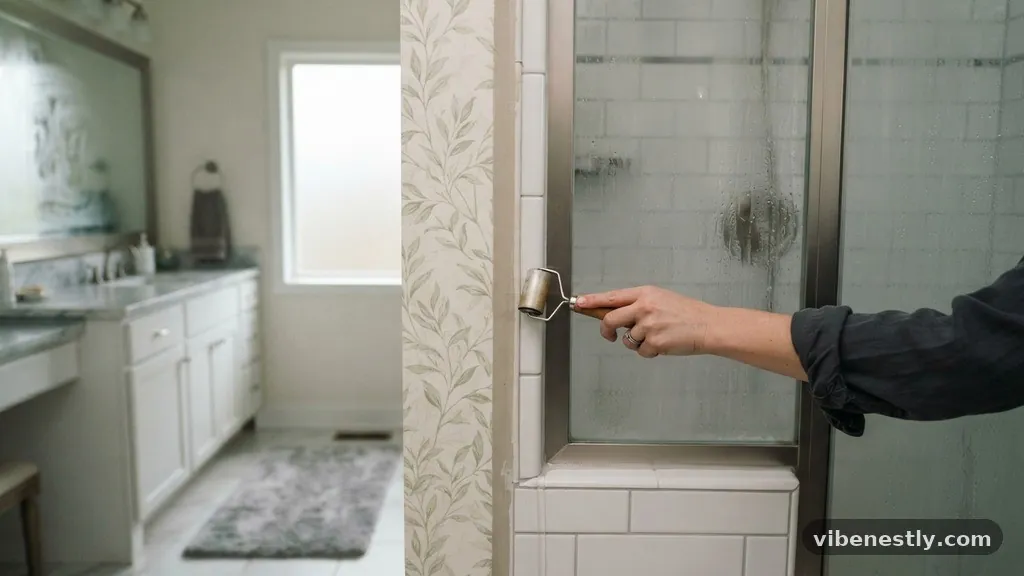
If you are worried about the longevity of your wallpaper, consider using it as an accent rather than covering every wall in the bathroom. Place the wallpaper on the wall furthest from the shower door to minimize direct contact with steam and splashing water. You can then use moisture-resistant paint or tile for the areas immediately surrounding the shower.
This design choice not only protects your investment but also creates a more visually interesting bathroom. By mixing materials, you reduce the surface area that is exposed to high humidity, thereby lowering the risk of peeling. If you must place wallpaper near the shower, consider installing a glass or acrylic splash guard to physically block water from hitting the wall.
Think about the airflow in the room when deciding where to place your paper. If your shower door opens in a way that directs steam toward a specific wall, avoid placing wallpaper on that surface.
A simple layout change during the planning phase can save you from dealing with maintenance issues later. Strategic placement is a proactive way to ensure your design remains intact for many years.
Essential Tools for Success
Having the right tools makes a significant difference in the quality of your installation. You should have a sharp utility knife with plenty of spare blades, as dull blades will tear the wet paper rather than cutting it cleanly. A clean, damp sponge is also essential for wiping away excess paste, which, if left to dry, can cause the seams to lift and look messy.
* High-quality seam roller: Essential for pressing edges down firmly.
* Professional-grade vinyl adhesive: Provides the strongest bond for damp areas.
* Sharp utility knife: Prevents tearing during trimming.
* Mildew-resistant primer: Creates a secure base for the paper.
* Lint-free cloths: Necessary for smoothing and cleaning.
* Plastic smoothing tool: Helps remove air bubbles without damaging the paper.
Using these tools properly ensures that you get a tight, professional finish that is less likely to fail over time. Don’t rush the process; take your time to smooth each strip thoroughly and check your seams multiple times during the drying process. A little extra effort during installation is far easier than trying to fix a peeling wall later.
FAQ About Wallpaper in Bathrooms
How often should I check my wallpaper seams for signs of peeling?
You should perform a quick inspection once a month, especially after a period of heavy use. Look for any areas that appear to be lifting or showing signs of discoloration, which can indicate moisture penetration. Catching a small lift early is much easier than fixing a large, detached section.
Can I paint over wallpaper if it starts to peel?
Painting over damaged wallpaper is generally not recommended because the moisture in the paint can cause the paper to bubble further. It is better to repair the seam with adhesive first, let it dry, and then consider your options. If the paper is failing, it is usually a sign that the adhesive is compromised, and painting will not solve the underlying issue.
Is it possible to use peel and stick wallpaper in a full bathroom with a shower?
Yes, it is possible, but you must choose a product that is specifically labeled for use in high-humidity areas. Many standard peel and stick papers are not designed for bathrooms and will fail quickly. Always check the manufacturer’s warranty and technical data sheet to ensure it is rated for moisture resistance.
What should I do if my wallpaper develops mold?
If you see mold, you must address it immediately as it is a health risk. You will likely need to remove the affected section of wallpaper, treat the wall underneath with a mold-killing solution, and ensure the area is completely dry before re-applying new paper. If mold is widespread, it is best to remove the paper entirely and address the ventilation issues in the bathroom.
Does the color or pattern of the wallpaper affect its durability?
The material composition is far more important than the color or pattern. However, dark-colored wallpapers may show adhesive residue or seam repairs more clearly than lighter patterns. Always ensure you have a plan for how you will handle seam maintenance regardless of the design you choose.
Conclusion
Preventing Wallpaper Seams from Peeling Near Steamy Shower Doors requires a combination of high-quality materials, careful surface preparation, and consistent bathroom ventilation. By choosing moisture-resistant vinyl coverings and using professional-grade adhesives, you create a barrier that can withstand the daily rigors of a steamy environment. Taking the time to properly prime your walls and seal the seams with a dedicated product will provide the extra security needed to keep your decor looking flawless.
Remember that moisture control is just as important as the installation itself. Keeping your bathroom well-ventilated and regularly inspecting your walls will help you catch potential issues before they become major problems. If you follow these guidelines, you can enjoy the aesthetic benefits of wallpaper in your bathroom without the worry of premature peeling.
Feel free to experiment with different patterns and styles, knowing that your installation is protected by the right techniques. If you have specific questions about your next home project, I am here to assist with more detailed insights.