How to Skim Coat Textured Drywall Flat Before Hanging Self-Adhesive Wallpaper
Preparing a wall for a fresh look involves careful surface correction, and mastering the process of skiming Coat Textured Drywall Flat Before Hanging Self-Adhesive Wallpaper is the most reliable way to ensure a professional finish. Self-adhesive wallpaper requires a perfectly smooth surface to bond correctly; even minor textures like orange peel or heavy knock-down can cause the adhesive to fail or show unsightly bumps through the vinyl.
By applying a thin layer of joint compound, you create a flat, uniform substrate that allows your wallpaper to adhere securely and look flawless. This process takes patience, but the final result provides a clean, modern aesthetic that makes the extra effort worthwhile for any DIY enthusiast.
Why Smoothing Walls is Mandatory for Peel-and-Stick
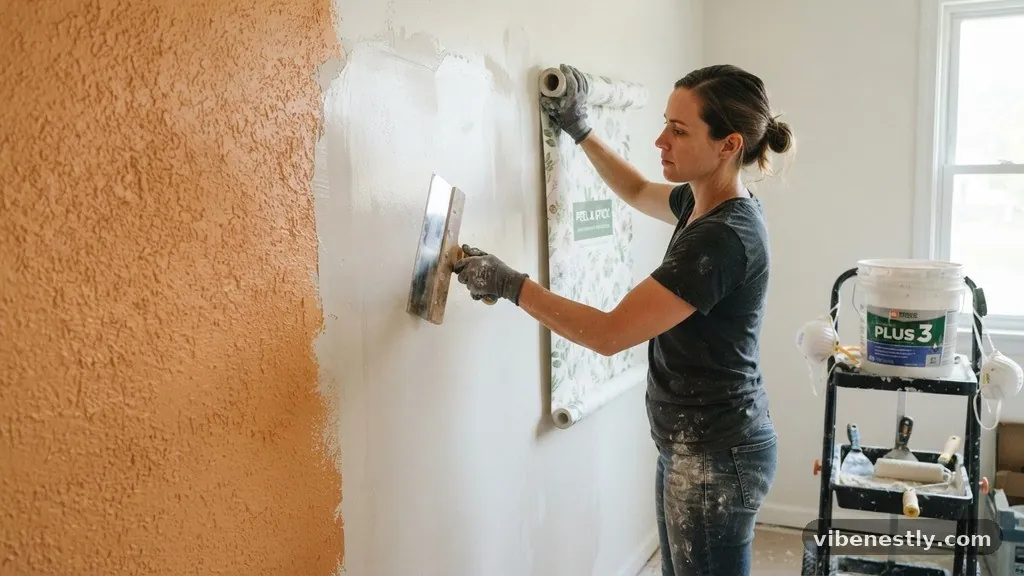
Peel-and-stick wallpaper is notoriously unforgiving when it comes to wall imperfections. Because the material is typically thin vinyl, it acts like a mirror for whatever lies beneath it.
If you attempt to hang it directly over textured drywall, the adhesive will only make contact with the high points of the texture. This creates microscopic air gaps in the valleys of the texture, which eventually leads to the paper peeling away or bubbling over time.
Beyond the adhesion issues, the visual impact of texture through wallpaper is stark. In rooms with direct light, such as those with large windows or recessed lighting, every bump and ridge will cast a shadow.
This creates a distorted, unprofessional appearance that ruins the intended design. To achieve a high-end look, you must eliminate the texture entirely by creating a flat, non-porous surface.
Assessing Your Existing Wall Texture
Before you buy any materials, you need to identify the type of texture currently on your walls. Common textures include orange peel, knockdown, and heavy stipple or popcorn finishes. If your home was built before the mid-1980s, you must be aware of the possibility of asbestos in older joint compounds or acoustic ceiling sprays.
If you suspect your wall texture contains asbestos, do not scrape or sand it. Contact a local professional to have the material tested by an accredited laboratory.
Once you confirm the surface is safe, you can proceed with the preparation. Determining the depth of the texture helps you decide how many coats of compound you will need to achieve a perfectly flat finish.
Essential Tools for the Job
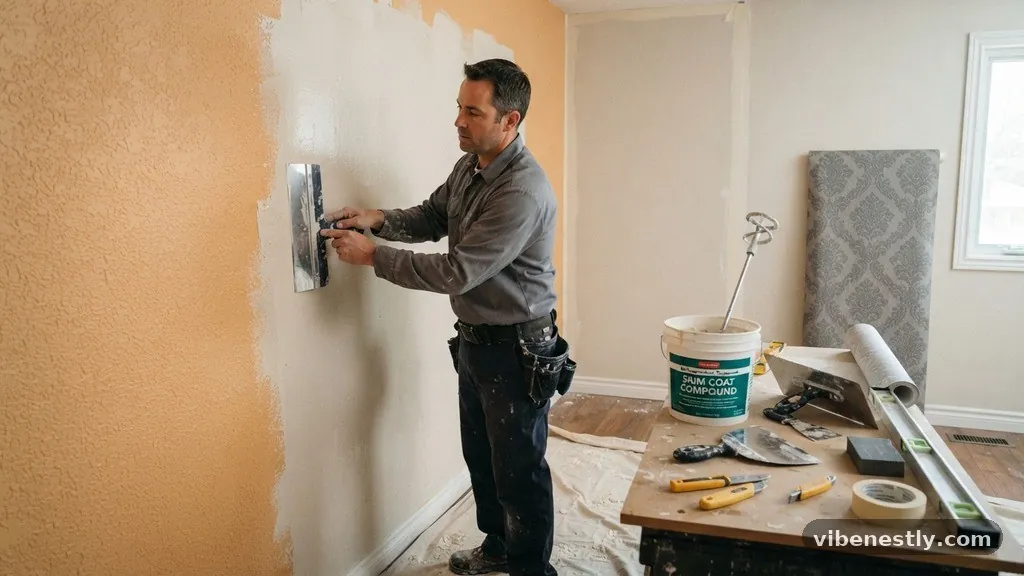
You cannot achieve a professional-grade skim coat without the right equipment. Using a small putty knife for a large wall will result in ridges and uneven application. You need tools designed to cover large areas quickly while maintaining a consistent thickness.
- 12-inch or 14-inch taping knife: Essential for spreading compound over large areas.
- 10-inch mud pan: Keeps your compound accessible and easy to load onto the knife.
- All-purpose joint compound: Look for a pre-mixed, lightweight variety for easier sanding.
- Pole sander with 120-150 grit sandpaper: Necessary for smoothing the dry compound.
- High-quality wall primer: Crucial for sealing the porous compound before applying wallpaper.
- Drop cloths and painter’s tape: Protect your floors and trim from inevitable drips and dust.
Preparing the Surface for Compound Application
Before you apply any compound, the wall must be clean and free of loose debris. Use a wide drywall knife to scrape away any high, sharp points of texture that protrude significantly from the wall. This simple step reduces the amount of compound needed and prevents the knife from catching on jagged edges while you work.
Next, wipe the walls down with a damp cloth to remove dust. If the wall has been painted with a glossy sheen, consider a light scuff-sand to help the new layer of compound bond effectively. You want the surface to be clean, dry, and slightly matte to ensure the joint compound adheres without pulling away later.
Mixing and Applying the First Coat
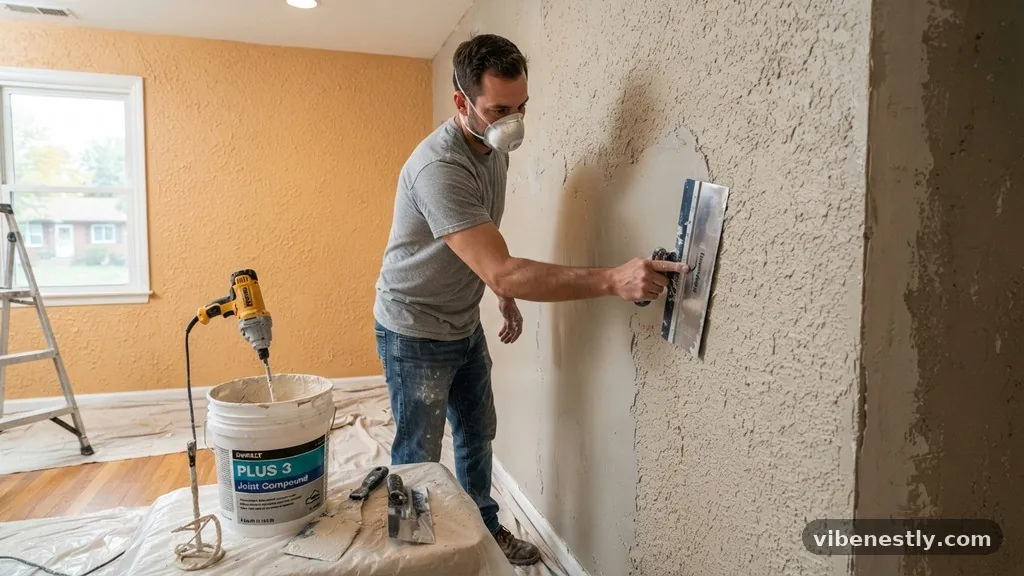
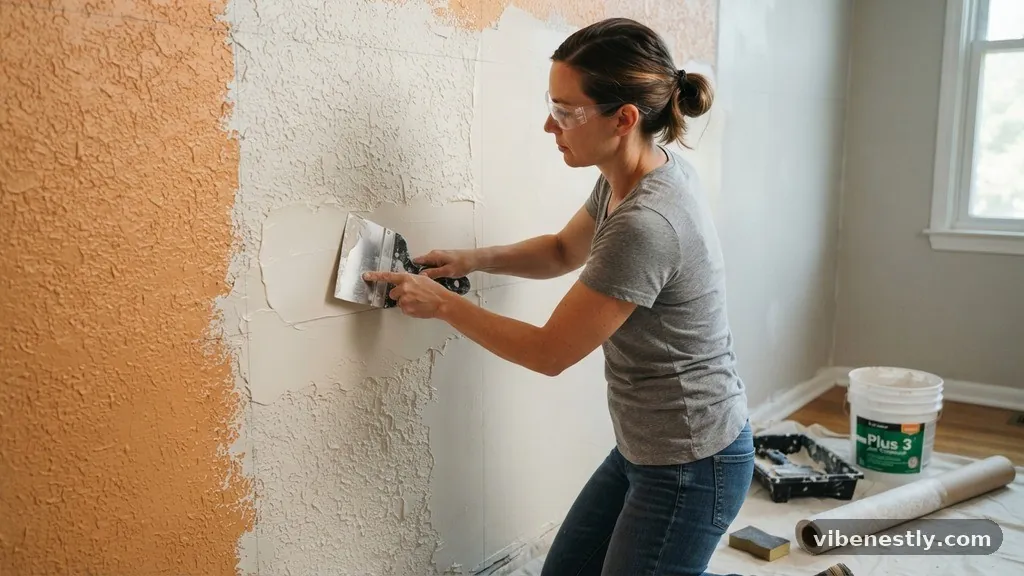
Start by thinning your joint compound with a small amount of water until it reaches the consistency of thick cake icing. If the compound is too stiff, it will be difficult to spread thinly and will leave heavy lines. Load your mud pan and use your large taping knife to apply the compound in long, vertical strokes.
Don’t worry about perfection on the first pass. Your goal here is to fill in the valleys of the texture rather than creating a perfectly smooth surface.
Apply the compound with consistent pressure, keeping the knife blade at a slight angle to the wall. This technique helps you feather the edges and minimize the ridges left behind by the knife.
Sanding and Evaluating the Surface
After the first coat dries completely, you will likely see imperfections and ridges. Use your pole sander with 120-grit paper to knock down the high spots. Be careful not to sand through the layer of compound down to the original drywall, as this will create uneven patches.
Once you have sanded the first coat, wipe the wall clean of all dust. Shine a bright light parallel to the wall surface to reveal any remaining dips or texture.
If the texture is still visible, you must apply a second, thinner coat. This second application is often faster, as you are simply refining the surface you already established.
Comparing Skim Coating to Alternatives
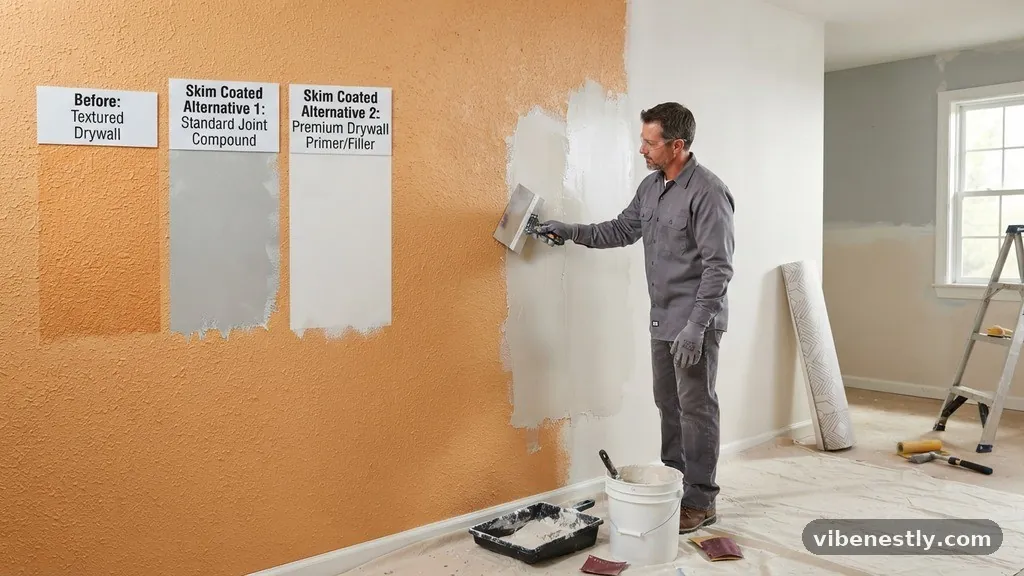
Many homeowners wonder if there is an easier way to prepare walls. While some products claim to bypass the need for a full skim coat, they often fall short in durability or visual quality. Below is a comparison of common methods used to prepare textured walls for wallpaper.
| Method | Effort Required | Durability | Visual Finish |
|---|---|---|---|
| Skim Coating | High | Excellent | Perfectly Smooth |
| Wallpaper Liner | Medium | Moderate | Good |
| Sanding Texture | High | Poor | Inconsistent |
| Heavy Vinyl Paper | Low | Low | Visible Texture |
Priming the Finished Wall
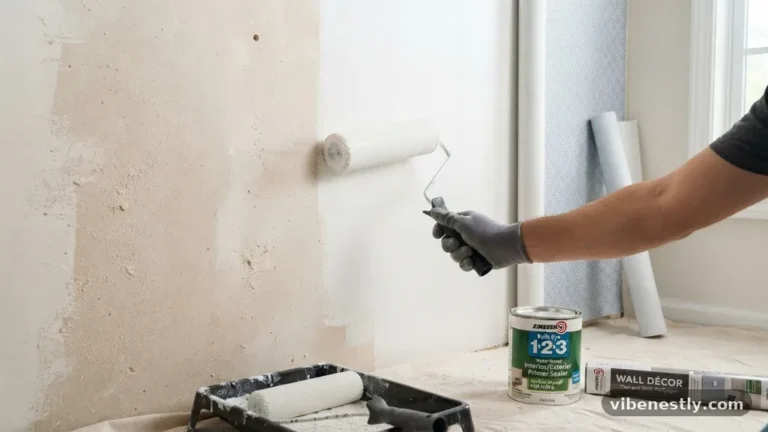
Once you are satisfied with the smoothness of the wall, you must prime it. A fresh layer of joint compound is highly porous, meaning it will suck the moisture out of the wallpaper adhesive if left unsealed. If this happens, your paper will not stick, or it will dry unevenly and create bubbles.
Use a high-quality acrylic drywall primer. Apply it evenly over the entire surface and allow it to cure for at least 24 hours.
A properly primed wall acts as a barrier, providing a uniform surface that allows the self-adhesive wallpaper to bond uniformly. This step is the difference between a project that lasts for years and one that fails in weeks.
Common Mistakes to Avoid
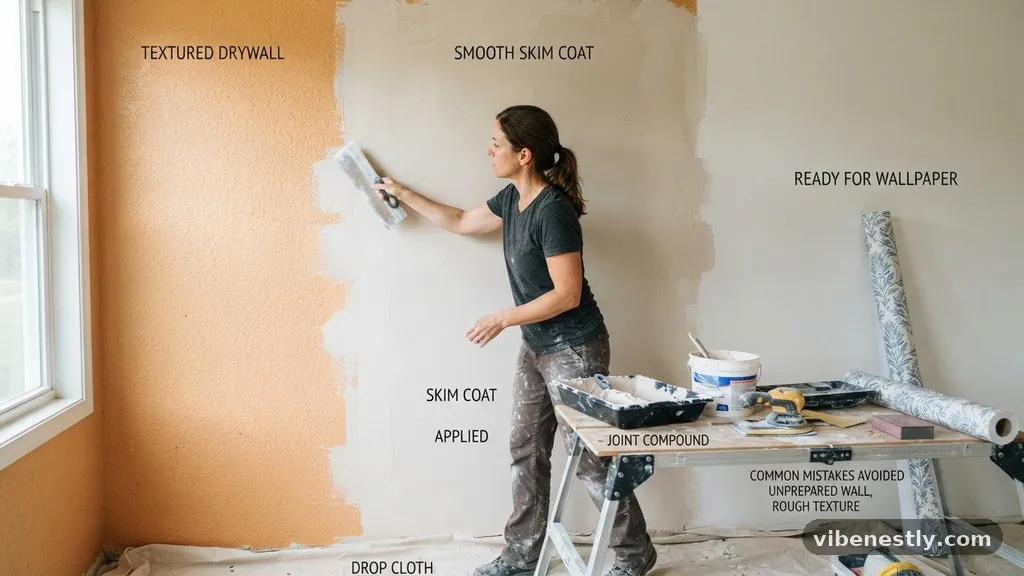
The most frequent mistake is rushing the drying time. Joint compound shrinks as it dries; if you apply wallpaper over compound that is still damp, you are trapping moisture behind the vinyl. This will almost certainly lead to mold growth or the adhesive failing to set.
Another common error is failing to feather the edges between passes. If you leave thick ridges of compound, they will show through the wallpaper just as clearly as the original texture. Take the time to clean your knife frequently, as dried bits of compound on the blade will leave deep gouges in your wet finish.
Addressing Frequently Asked Questions
Can I use a roller to apply the skim coat?
While some people use a thick-nap roller to apply compound to the wall, you still need to use a wide taping knife to smooth it out. A roller is excellent for getting the mud onto the wall quickly, but the knife is the only tool that creates the flat, level surface required for wallpaper.
How long should I wait between coats?
You should wait until the compound is completely white and dry to the touch, which typically takes 12 to 24 hours depending on the humidity in your room. If you try to sand or apply a second coat while it is still grey or damp, you will simply smear the compound rather than smoothing it.
Will self-adhesive wallpaper stick to bare drywall?
Self-adhesive wallpaper can technically stick to bare drywall, but it is not recommended for a permanent installation. The adhesive is designed for smooth, primed surfaces, and removing it later will likely tear the paper face of your drywall, causing significant damage that requires more repairs.
Is it possible to skim over existing wallpaper?
Skimming over existing wallpaper is generally a bad idea. The moisture from the joint compound can loosen the old adhesive, causing the old paper to bubble and pull away from the wall. You should always remove old wallpaper before attempting to prep the surface with a skim coat.
Do I need to sand between every coat?
You should lightly sand between coats to remove any ridges or “nibs” left by your knife. If you don’t, these small imperfections will be compounded by the next layer, making it increasingly difficult to achieve a smooth finish. A quick, light pass with fine-grit sandpaper is usually sufficient.
Execution and Final Preparation
The process of skiming Coat Textured Drywall Flat Before Hanging Self-Adhesive Wallpaper requires patience, but it is a skill that any homeowner can master with practice. Start by working in a small, inconspicuous area if you are new to using a taping knife. By focusing on thin, consistent layers and proper surface sealing, you ensure that your investment in quality wallpaper is protected.
Once the walls are smooth and the primer is fully cured, you are ready to apply your chosen design. Taking the time to build a professional-grade foundation ensures that your room looks intentional and refined.
If you encounter any specific challenges during the application of your wallpaper, consult the manufacturer’s guidelines for temperature and humidity requirements. Enjoy the transformation of your space and the satisfaction of a job done correctly.