Why Removable Wallpaper Falls Down from Lightly Textured Drywall Surfaces?
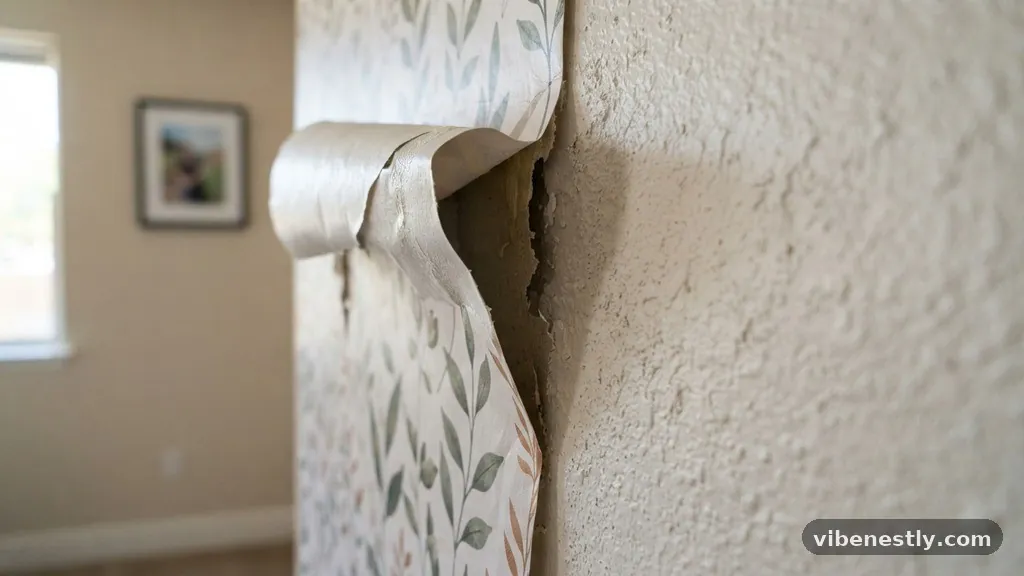
Discovering that your beautiful new wall decor is peeling away is incredibly frustrating, especially when you were promised an easy application. Many homeowners find that removable wallpaper falls down from lightly textured drywall surfaces because the adhesive backing is designed primarily for perfectly flat, non-porous substrates. When you introduce texture, you create microscopic gaps between the wallpaper and the wall, which prevents the adhesive from forming a complete, airtight seal.
Understanding the physics of these surfaces and the limitations of pressure-sensitive adhesives is the first step in troubleshooting your project. By learning why this happens, you can decide whether to prep your walls or choose a different decorating approach entirely.
The Physics of Adhesive Failure on Textured Surfaces
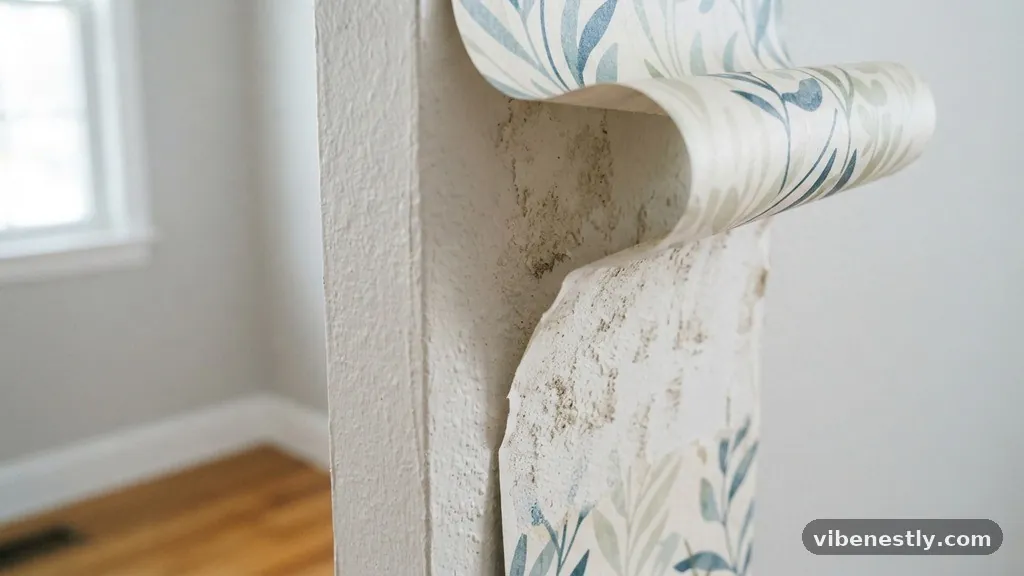
The primary reason for failure is a lack of surface contact area. When you apply a pressure-sensitive adhesive to a smooth wall, nearly 100% of the backing makes contact with the surface. On a lightly textured wall, such as “orange peel” or light knockdown, the adhesive only touches the very tips of the peaks.
This creates a mechanical disadvantage that the adhesive simply cannot overcome. Because the contact points are so sparse, the weight of the vinyl panel eventually pulls it away from the wall. The adhesive is forced to bridge gaps, which it is not engineered to do over long periods.
Environmental factors further exacerbate this issue. Changes in humidity and temperature cause the drywall and the wallpaper to expand and contract at different rates. If the bond is only established at a few high points on the texture, these tiny movements cause the wallpaper to lift at the edges.
Why Surface Porosity and Paint Matter
Not all drywall surfaces are created equal, and the finish on your wall plays a huge role in adhesion. Many modern paints contain additives like silicone or Teflon, which are specifically designed to be dirt and stain-resistant. These “low-surface-energy” paints create a non-stick barrier that makes it nearly impossible for wallpaper adhesive to grab hold.
If your wall was painted recently, the paint might still be outgassing. This process releases chemicals that can degrade or neutralize the tackiness of the wallpaper backing. Even if the paint feels dry to the touch, it may not be fully cured, leading to premature peeling.
Dust and debris are also major culprits that often go unnoticed. If you do not wipe down your walls thoroughly before installation, you are essentially sticking the paper to a layer of dust rather than the wall itself. This creates a weak interface that will fail regardless of how smooth the surface is.
The Mechanics of Peel and Stick Adhesives
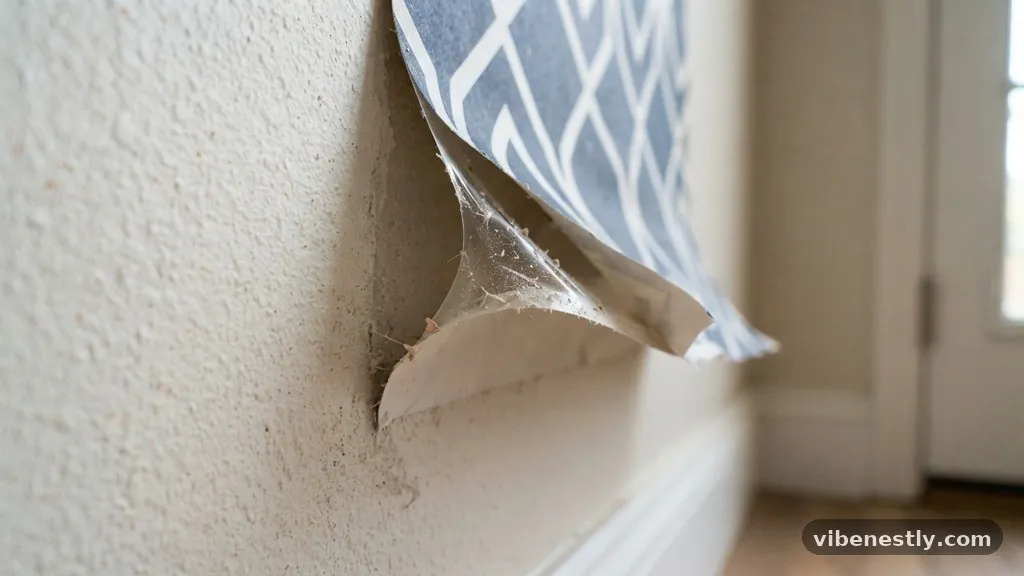
Most peel and stick products rely on acrylic-based adhesives. These are designed to be “repositionable,” meaning they have a lower initial tack compared to permanent wallpapers. While this makes them easy to hang, it also means they lack the aggressive bonding strength needed to grip uneven surfaces.
When you apply this type of material to a textured surface, you are essentially trying to stick a flat sheet to a jagged landscape. The air pockets trapped between the texture peaks act as weak points. Over time, these pockets grow, allowing air to circulate behind the panel and further drying out the adhesive.
To better understand how these materials perform under different conditions, consider the following data points regarding common adhesion failures on various substrates:
| Surface Type | Adhesion Success Rate | Common Failure Mode |
|---|---|---|
| Satin/Semi-Gloss Smooth | High (90%+) | Rare peeling |
| Matte/Flat Paint | Medium (60-70%) | Edge curling |
| Light Orange Peel | Low (20-30%) | Gravity-induced sagging |
| Heavy Knockdown | Very Low (<10%) | Full panel detachment |
The Role of Humidity and Temperature
Fluctuations in your home’s climate are silent killers for wall decor. Drywall is a porous material that absorbs and releases moisture depending on the season. When the wall expands due to humidity, the wallpaper must also stretch to accommodate that movement.
Because most peel and stick materials are made of vinyl, they have limited elastic memory. Once they stretch, they often do not shrink back to their original size. This leaves you with loose panels that eventually lose their grip entirely.
Temperature also plays a role in the viscosity of the adhesive. If a room gets too cold, the adhesive becomes brittle and loses its “tack.” Conversely, if a room gets too hot, the adhesive can become too soft, causing the paper to slide down the wall under its own weight.
Why Testing Your Surface is Essential
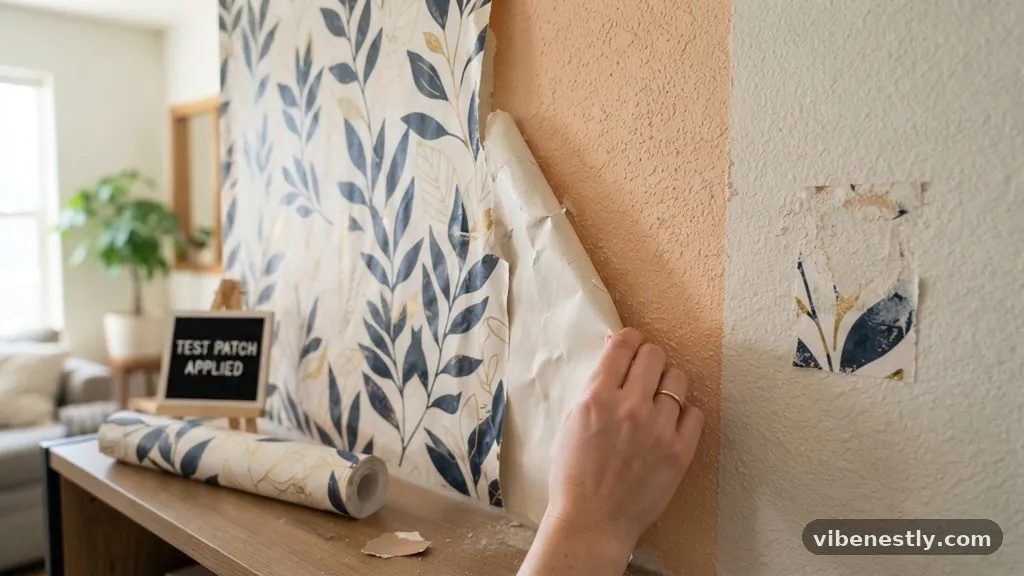
Before you commit to covering an entire room, you must perform a test. Purchase a single sample or roll and apply it to an inconspicuous area, such as behind a door or inside a closet. Leave the sample up for at least 48 to 72 hours to see how it behaves.
If the edges start to lift within the first few hours, you know the texture is too aggressive for that specific product. Many people skip this step, assuming that because their wall looks “mostly smooth,” it will be fine. Unfortunately, the difference between “mostly smooth” and “truly smooth” is the difference between a successful project and a failed one.
Consider these steps when performing your test:
The Impact of Wall Primers
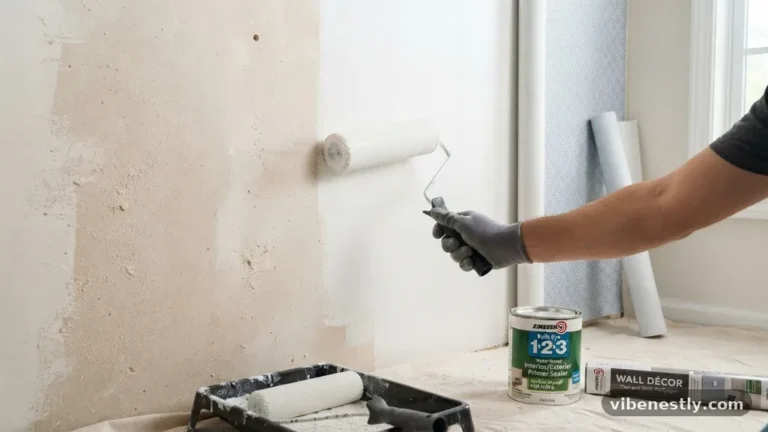
Applying a high-quality primer to your walls can significantly improve the chances of success. A primer creates a uniform, non-porous surface that acts as a bridge between the drywall and the adhesive. It effectively “fills” some of the microscopic texture peaks, providing a flatter base.
However, you must be careful about the type of primer you use. Some primers are designed to be “peelable,” which defeats the purpose if you want the wallpaper to stay up. Look for a standard latex-based primer that creates a solid, stable foundation.
For more information on the proper preparation of interior surfaces, you can refer to guidelines provided by the American Coatings Association regarding surface preparation standards. Proper priming is often the difference between a temporary fix and a long-term installation.
Can You Use Adhesion Promoters?
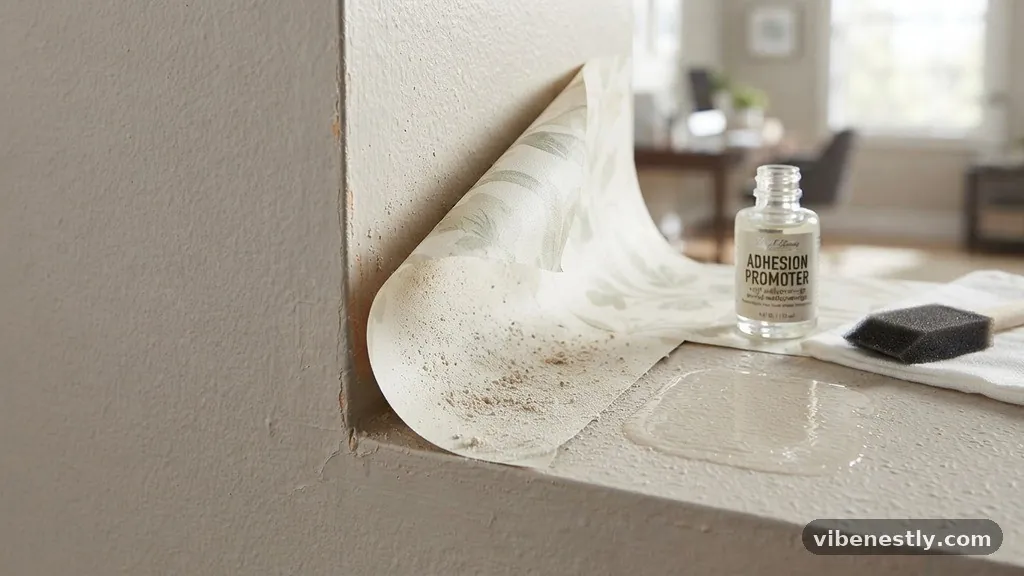
Some professional installers use liquid adhesion promoters or “wallpaper glue” to help their projects stick to difficult surfaces. These products are essentially liquid adhesives that you apply to the wall before hanging the wallpaper. They increase the tackiness of the surface significantly.
While this works well, it partially defeats the purpose of “removable” wallpaper. You will likely damage the drywall when you eventually decide to take the paper down. If you are in a rental property, this is a risky strategy that could cost you your security deposit.
If you decide to go this route, test a small area first. Ensure the chemical reaction between the promoter and the wallpaper backing doesn’t cause the vinyl to discolor or melt. It is a specialized solution for when you absolutely must have the wallpaper stay put.
The Problem with Heavy Vinyl Materials
Not all removable wallpaper is created with the same weight. Some designs are printed on thick, heavy-duty vinyl that looks and feels like fabric. While this provides a high-quality look, it also adds significant weight to the wall.
Gravity is working against you from the moment you start the installation. A heavy panel requires a much stronger bond than a thin, lightweight paper. If your wall has even a light texture, the weight of a heavy vinyl sheet will almost certainly cause it to peel at the seams.
Always opt for lighter-weight materials if you are dealing with a textured surface. The less mass the adhesive has to support, the longer the bond will hold. Check the weight specifications of the product before purchasing to ensure it is suitable for your specific wall type.
Common Installation Mistakes
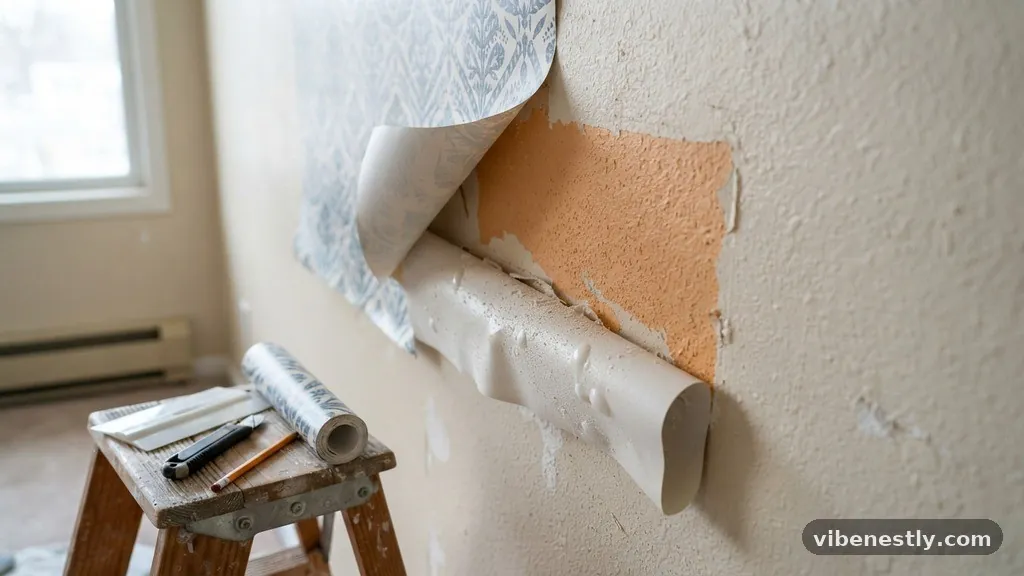
Even on smooth walls, improper installation is the leading cause of failure. Many people fail to apply enough pressure during the application process. You must use a plastic smoothing tool to push the air out and force the adhesive into the wall texture.
Another common mistake is stretching the material as you pull it off the backing. If you pull too hard, the material becomes distorted. Once that distorted material is applied to the wall, it wants to return to its original shape, which causes the edges to lift and curl.
You should also avoid touching the adhesive backing with your fingers. The oils from your skin can contaminate the adhesive, creating weak spots that will eventually lead to peeling. Work from the center of the panel outward to ensure an even seal across the entire surface.
Troubleshooting Edges and Seams
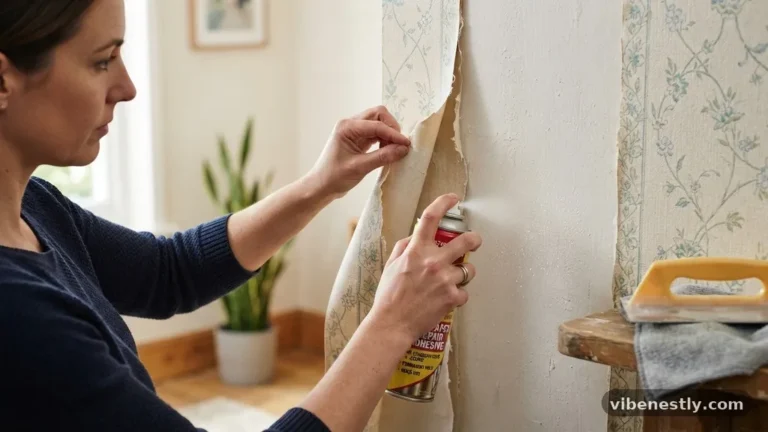
If you find that your wallpaper is starting to lift at the edges, you can sometimes save the project by using a seam adhesive. These are small tubes of glue designed specifically for wallpaper repairs. Carefully lift the edge, apply a tiny amount of glue, and press it back down firmly.
However, this is only a temporary fix for minor issues. If entire panels are falling down, seam glue will not be enough to hold them. In such cases, the weight of the panel will simply pull the seam glue away from the wall texture as well.
If you find yourself constantly repairing edges, it is a sign that the wallpaper is incompatible with your wall texture. At this point, it is usually better to remove the paper and consider a different wall treatment, such as paint or a textured wallpaper that is designed for high-adhesion applications.
Frequently Asked Questions
Does sanding textured walls help with wallpaper adhesion?
Yes, sanding the high points of the texture down to create a flatter surface significantly improves adhesion. You will need to wipe away all dust and likely re-prime the wall before applying the wallpaper to ensure a smooth, clean base.
Is there a specific type of wallpaper that works on textured walls?
Some manufacturers produce “heavy-duty” or “high-tack” peel and stick wallpapers specifically for textured surfaces. These feature stronger adhesives that are designed to bridge the gaps in orange peel or light knockdown textures more effectively than standard vinyl.
Can I use heat to help the wallpaper stick better?
Yes, using a hair dryer on a low setting can help soften the adhesive and make it more pliable during installation. However, be careful not to overheat the vinyl, as this can cause it to stretch and warp, leading to more peeling later.
Why does the wallpaper stay up for a few days and then fall?
This is usually due to the “creep” effect where the adhesive slowly releases over time. The initial pressure might hold it up temporarily, but the continuous pull of gravity combined with the lack of surface contact area causes the adhesive to eventually give way.
Should I use a clear coat or sealant over the wallpaper?
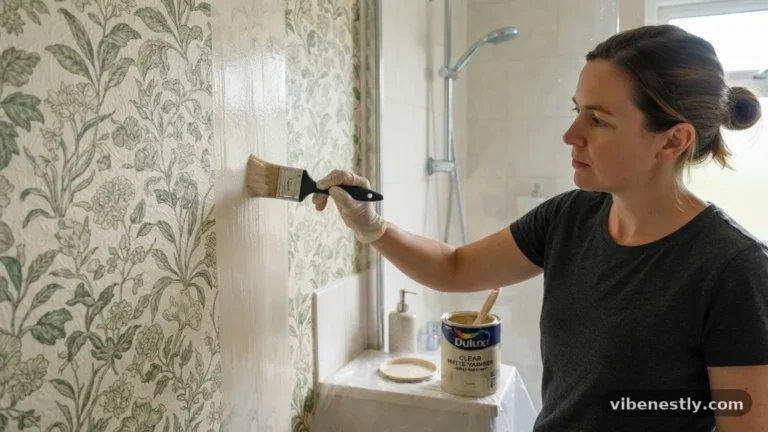
Applying a clear sealant can help seal the edges and prevent moisture from getting behind the paper, but it is not a cure-all. If the adhesive is failing due to the texture, a sealant will likely only delay the inevitable peeling rather than preventing it entirely.
Conclusion
Understanding why removable wallpaper falls down from lightly textured drywall surfaces is essential for achieving a professional finish in your home. By acknowledging the limitations of pressure-sensitive adhesives on uneven substrates, you can better prepare your walls or select products that are up to the challenge. Remember that thorough cleaning, proper priming, and avoiding over-stretching the material are your best defenses against peeling.
If you find your walls are too textured, sanding or applying a smooth skim coat remains the most reliable path to success. Take your time with the initial test phase to save yourself from the disappointment of a failing project later on. Feel free to reach out if you have further questions about your specific wall texture or installation challenges.